Action RPG
Mastering Beast of Reincarnation: Combat, Customization, and Conquest in Game Freak's Action RPG
Key answers to player questions about mechanics, strategy, and overcoming challenges in Game Freak's ambitious title.
What defines the hybrid combat system in Beast of Reincarnation?
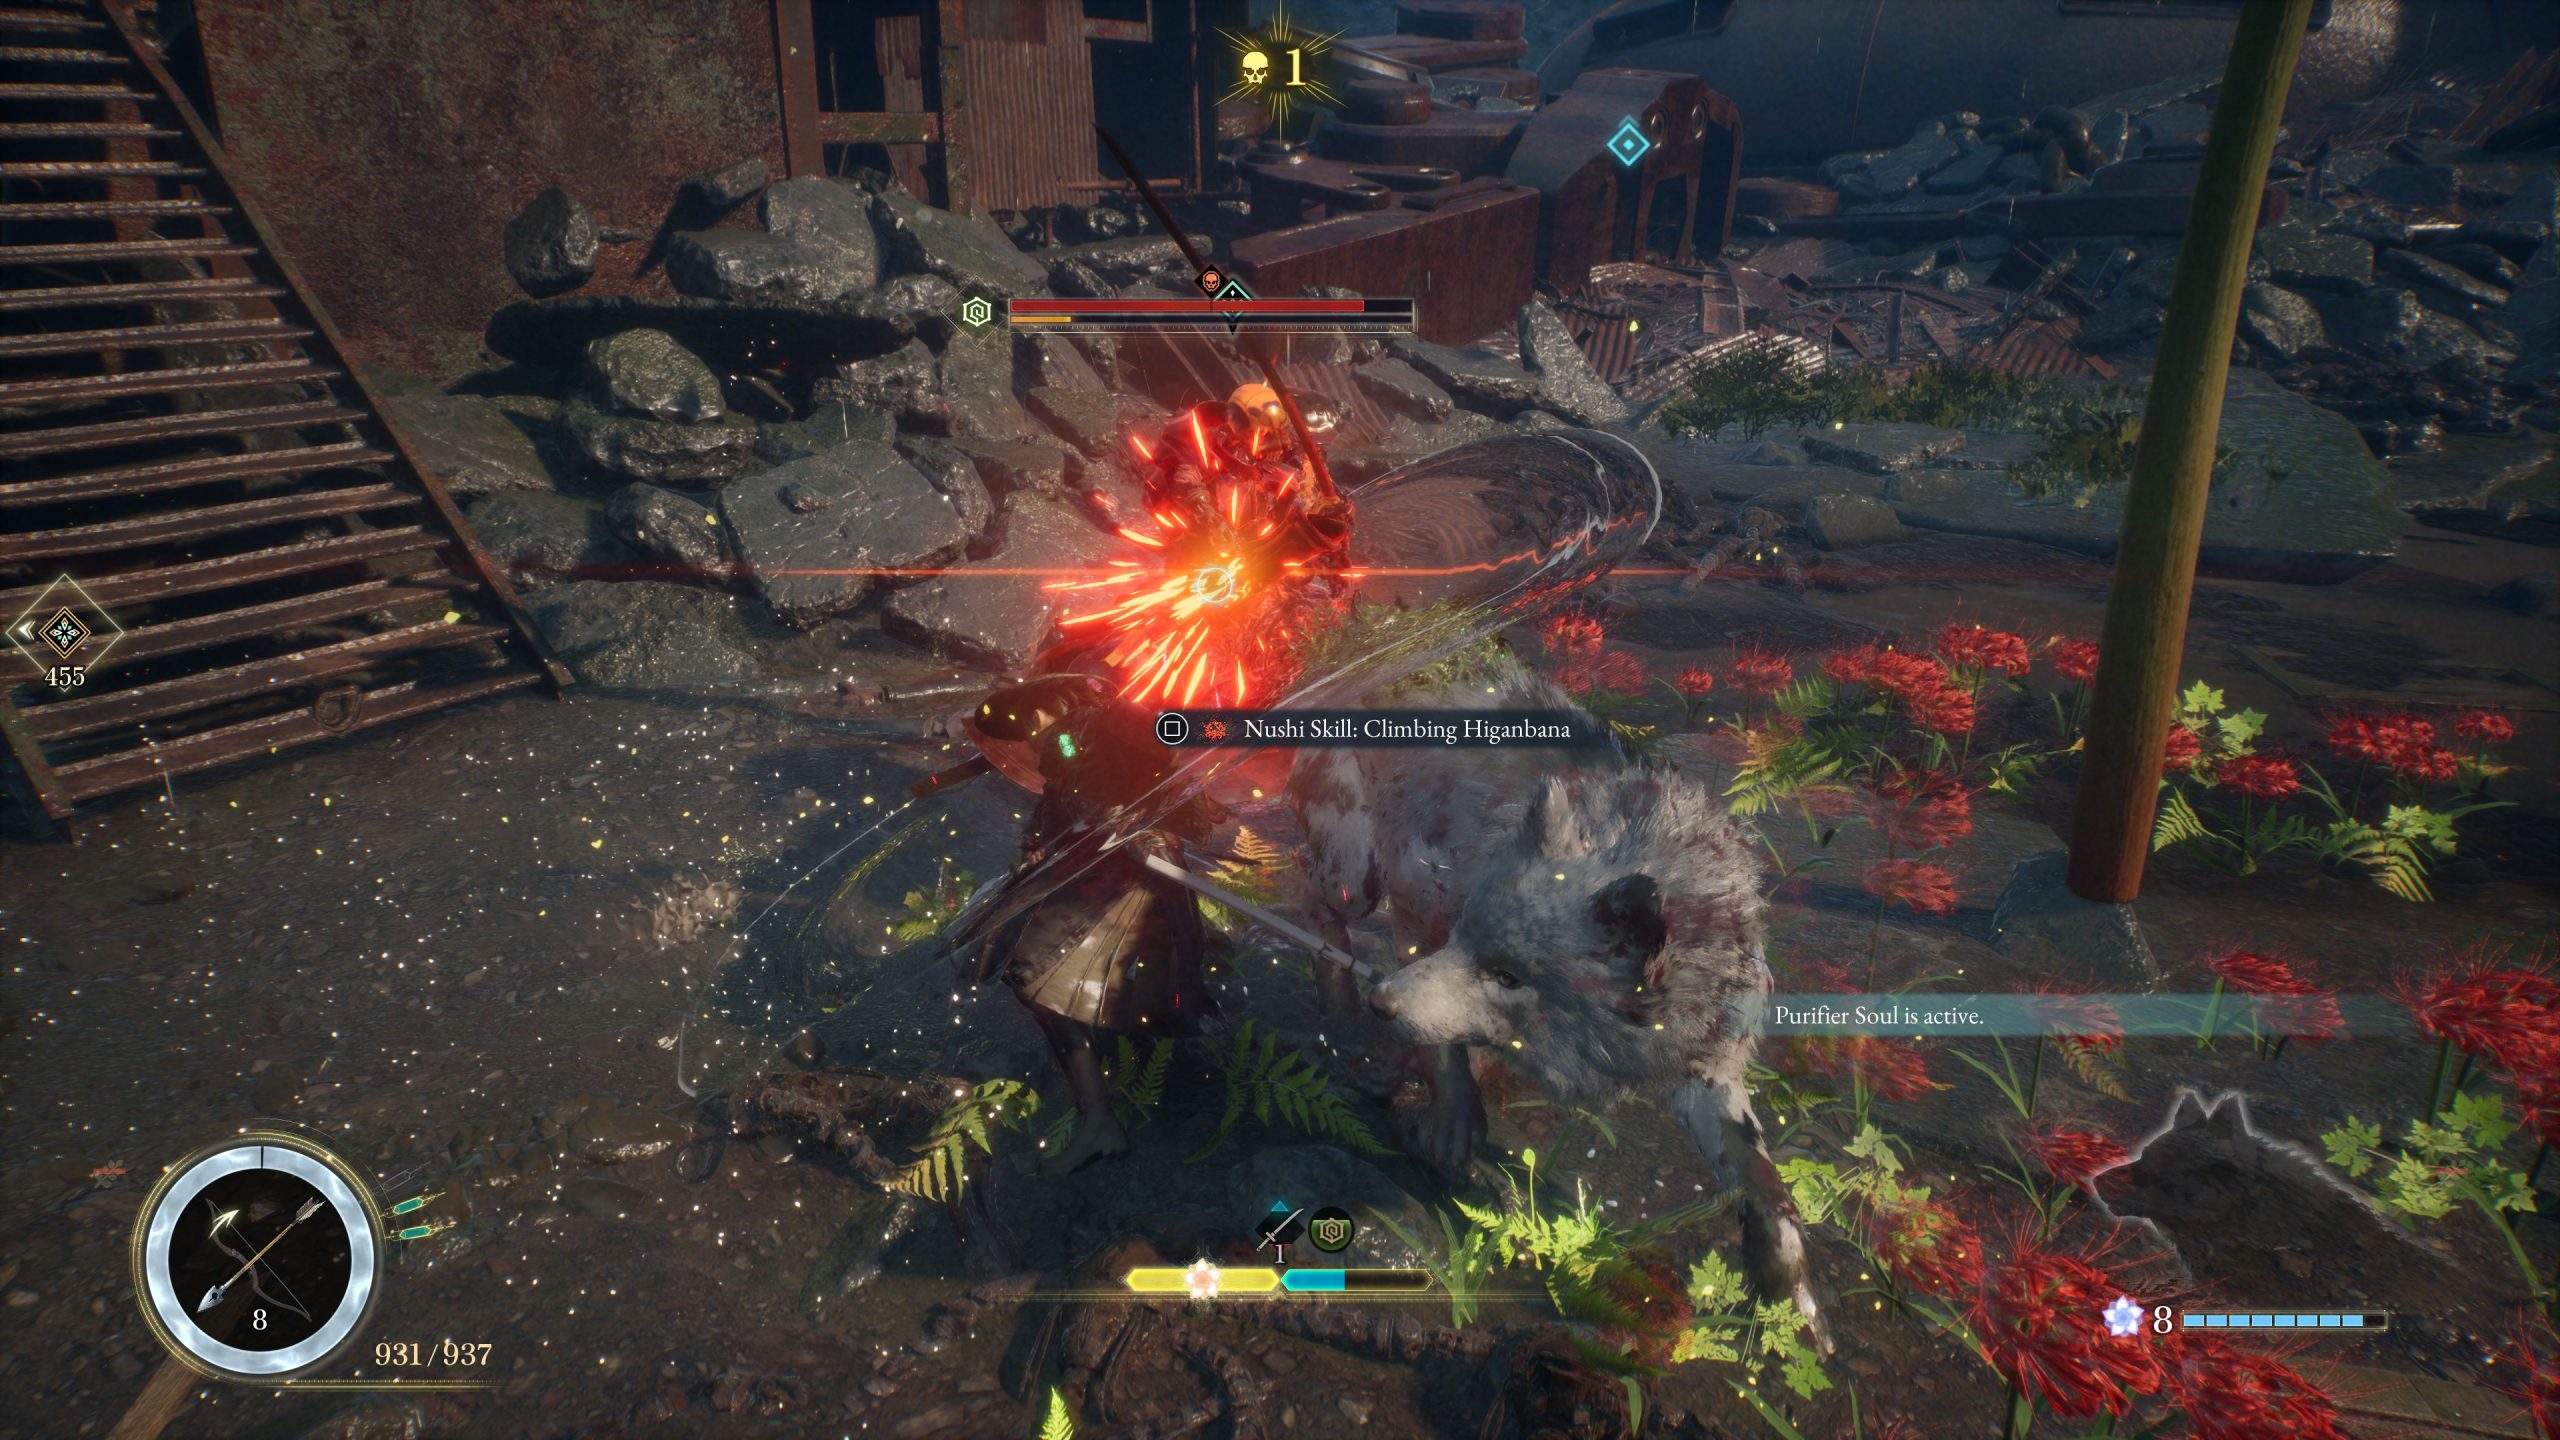
The combat blends real-time action with turn-based elements, drawing inspiration from Sekiro: Shadows Die Twice's parry focus and Final Fantasy VII Remake's strategic menus. Players control Emma in action-RPG style, using parries to restore Focus Points (FP) for her canine companion Koo's Bloom Arts, which are selected via a time-slowing menu. This system starts with limited options—a single combo string and a generous parry window that can feel off-putting—but expands dramatically after defeating Nushi bosses, unlocking new move strings, finishers, and modifiers. The rhythm hinges on parry-driven FP management, with Koo beginning each encounter at a base of 4 FP. Parrying is the only FP restorer in the early game, which sometimes forces a passive stance. In practice, a player will parry an enemy attack, hear the satisfying clang, watch the FP gauge tick up, then hit Triangle or Y to open the Bloom Arts menu while the world slows. Picking the right Art for the situation—say, a wide-area finisher to clean up weakened foes—becomes the core decision loop. Later, the Entanglement Gauge, which governs blocking and finisher use, adds another resource layer, and modifiers unlocked through leveling let Bloom Arts inflict status effects that synergize with Emma's Blade Arts. The combat never reaches the polish of the Final Fantasy VII Remake trilogy, but its interconnected parry-to-Art flow creates a cadence that is satisfying on its own terms.
How do parries work and why are they crucial for early gameplay?
Parries act as the primary FP restorer for Koo's Bloom Arts, starting with a base of 4 FP per encounter. The parry window is notably generous at first, which can disrupt timing for players expecting tighter mechanics, but it becomes essential for maintaining combat momentum. Successful parries activate special effects from Emma's equipped swords and fill the FP gauge, enabling Koo's turn-based abilities. In the initial hours, parrying is the only way to replenish FP, forcing a more defensive playstyle until new options unlock. On Hard difficulty, missed parries carry significant consequences such as substantial health loss, emphasizing their role in resource management and aggression pacing. Early fights often feel like a rhythm exercise: the player stands ground, watches the enemy's windup, taps parry at the generous window, absorbs the hit, and uses the earned FP to launch one of Koo's starting Bloom Arts—then repeats. Because there is only one combo string to begin with and the dodge maneuver carries significant end delay with few invincibility frames, parrying is the one tool that actually feels reliable from the first hour. The generous window can throw off veterans of tighter systems like Sekiro, where the margin for error is far smaller; here a slightly early tap still registers, which breeds a looser timing habit that Hard difficulty punishes immediately. Spirit Stone passives can later restore FP by hitting enemy weaknesses with ranged weapons, and the Entanglement Gauge—a resource that influences blocking and finisher execution—adds a second resource to manage, but none of that exists at the start. Until the first Nushi defeat unlocks new options, every encounter is a parry-driven loop with 4 FP to spend.
What customization options are available for Emma and Koo?
Emma's build revolves around swords with parry-triggered special effects and Spirit Stones that grant passives like attack boosts or FP recovery on hitting enemy weaknesses. Koo's customization involves equipping books found during exploration, which teach him skills and item crafts he uses automatically in battle—up to six slots based on rapport with Emma. Stat enhancement comes through meals prepared by Kagura using ingredients from the Cleanse Walker's greenhouse, requiring regular rest stops for optimal leveling. Spirit Stone variety is wide: some offer straightforward attack and defense boosts, others permanently increase the starting Entanglement Gauge—the stamina pool for blocking and unleashing Blade Arts and Finishers—and base FP, a crucial ability for playing more aggressively against regular enemies. One passive grants a set chance to restore Koo's FP whenever Emma hits an enemy weakness with a ranged weapon, tying resource recovery directly into build choices. Koo's equipped books let him set up status-affliction combos on his own during battle; Bloom Art modifiers unlocked via the Skill Tree then carry effects that grant Emma bonuses whenever the Art hits an enemy already suffering from a specific affliction. A player might, for example, let Koo poison an enemy with his automatic skill, then fire a Bloom Art whose modifier deals extra damage to poisoned targets while Emma closes in with a finisher. All of this feeds into one interconnected system where sword choice, stone passives, Koo's items, and stat distribution are equally important—the buildcrafting is where much of the game's late-game satisfaction lives.
How do you unlock new combat moves and Bloom Arts?
New abilities are unlocked primarily by defeating powerful Nushi bosses, which grant Emma additional combo strings and finishers, and Koo new Bloom Arts. Leveling up enhances stats to access skills and modifiers via a Skill Tree, such as increased starting Entanglement Gauge or Bloom Art upgrades that add status effects. This progression means combat options expand exponentially after the first few hours. In the opening stretch the player has one combo string, a handful of Koo's base Bloom Arts, and parrying as the sole FP source—a functional but flat loop. After the first Nushi falls, new move strings unlock with different areas of effect: a wide swing that hits clustered enemies, a finisher that sends a shockwave forward, or a aerial launch that resets the combo. Koo gains Bloom Arts that target different afflictions, and Skill Tree modifiers amplify those Arts when they land on a debuffed enemy—say, refunding FP or applying a secondary effect. The Entanglement Gauge, a stamina-like resource for blocking and finishers, can also be permanently expanded through Spirit Stone passives, giving more room to stay on the offensive. By mid-game a player might open with a quick parry to bank FP, have Koo inflict bleed with an automatic skill, trigger a Bloom Art whose modifier heals Emma on bleed-affected targets, then chain into a finisher that capitalizes on the weakened state. Every new Nushi kill reshapes the available toolkit, and by the late game the combat barely resembles the cautious parry loop of hour one.
What strategies work best against Nushi bosses?
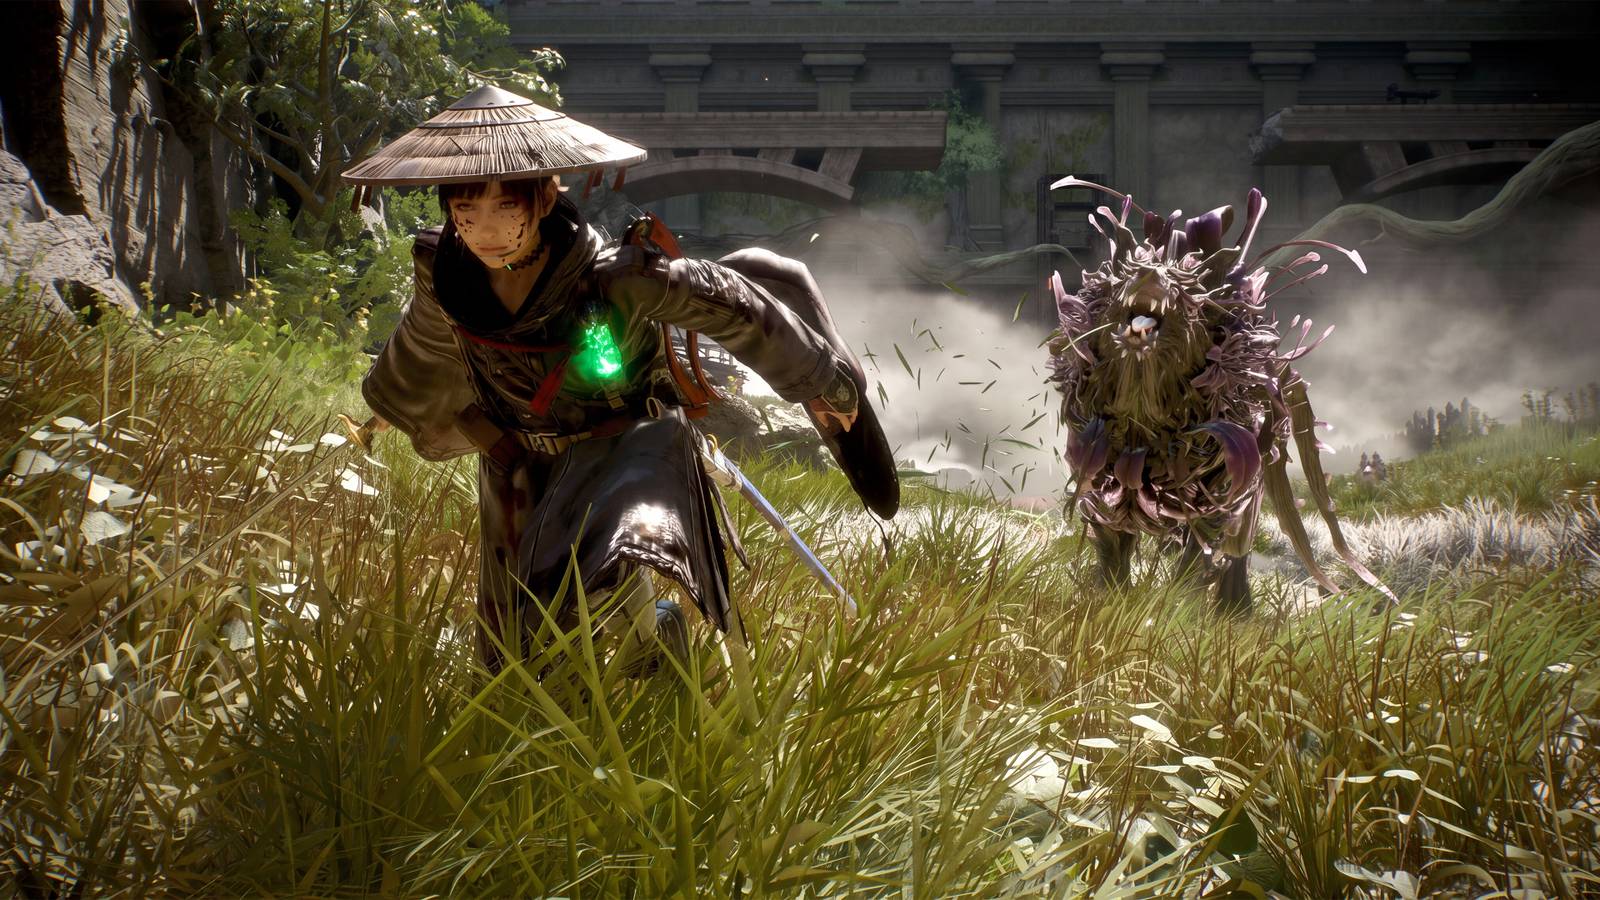
Nushi bosses are the game's large-scale encounters, each featuring two distinct phases with timing variations and area-of-effect attacks that require dodging rather than parrying. Their visual designs are among the highlights of the experience, and they serve as the primary source of new combat abilities—defeating one grants Emma new strings and finishers while unlocking Koo's latest Bloom Arts. Effective strategies lean heavily on buildcrafting: Spirit Stone passives can increase the starting Entanglement Gauge so more finishers are available before needing to recharge, while a sword's parry-triggered effect might grant temporary attack boosts that stack with Bloom Art damage. Koo's automatic items can inflict status afflictions early in the fight, and Skill Tree modifiers then amplify Bloom Arts that hit an afflicted enemy—so a cheap Bloom Art paired with a sword's unique ability can carve through a boss's health bar surprisingly fast. On Hard difficulty these fights demand precision, as bosses hit hard and a single missed parry can cost a large chunk of health. Frequent trips to the Cleanse Walker to eat meals prepared by Kagura, using ingredients from the greenhouse, are a near-requirement before tackling the tougher Nushi, since the stat boosts from a good meal can be the difference between surviving phase two and repeating the attempt. The right setup can turn even a lengthy boss into a brief, satisfying encounter.
How does exploration work in the game's linear world?
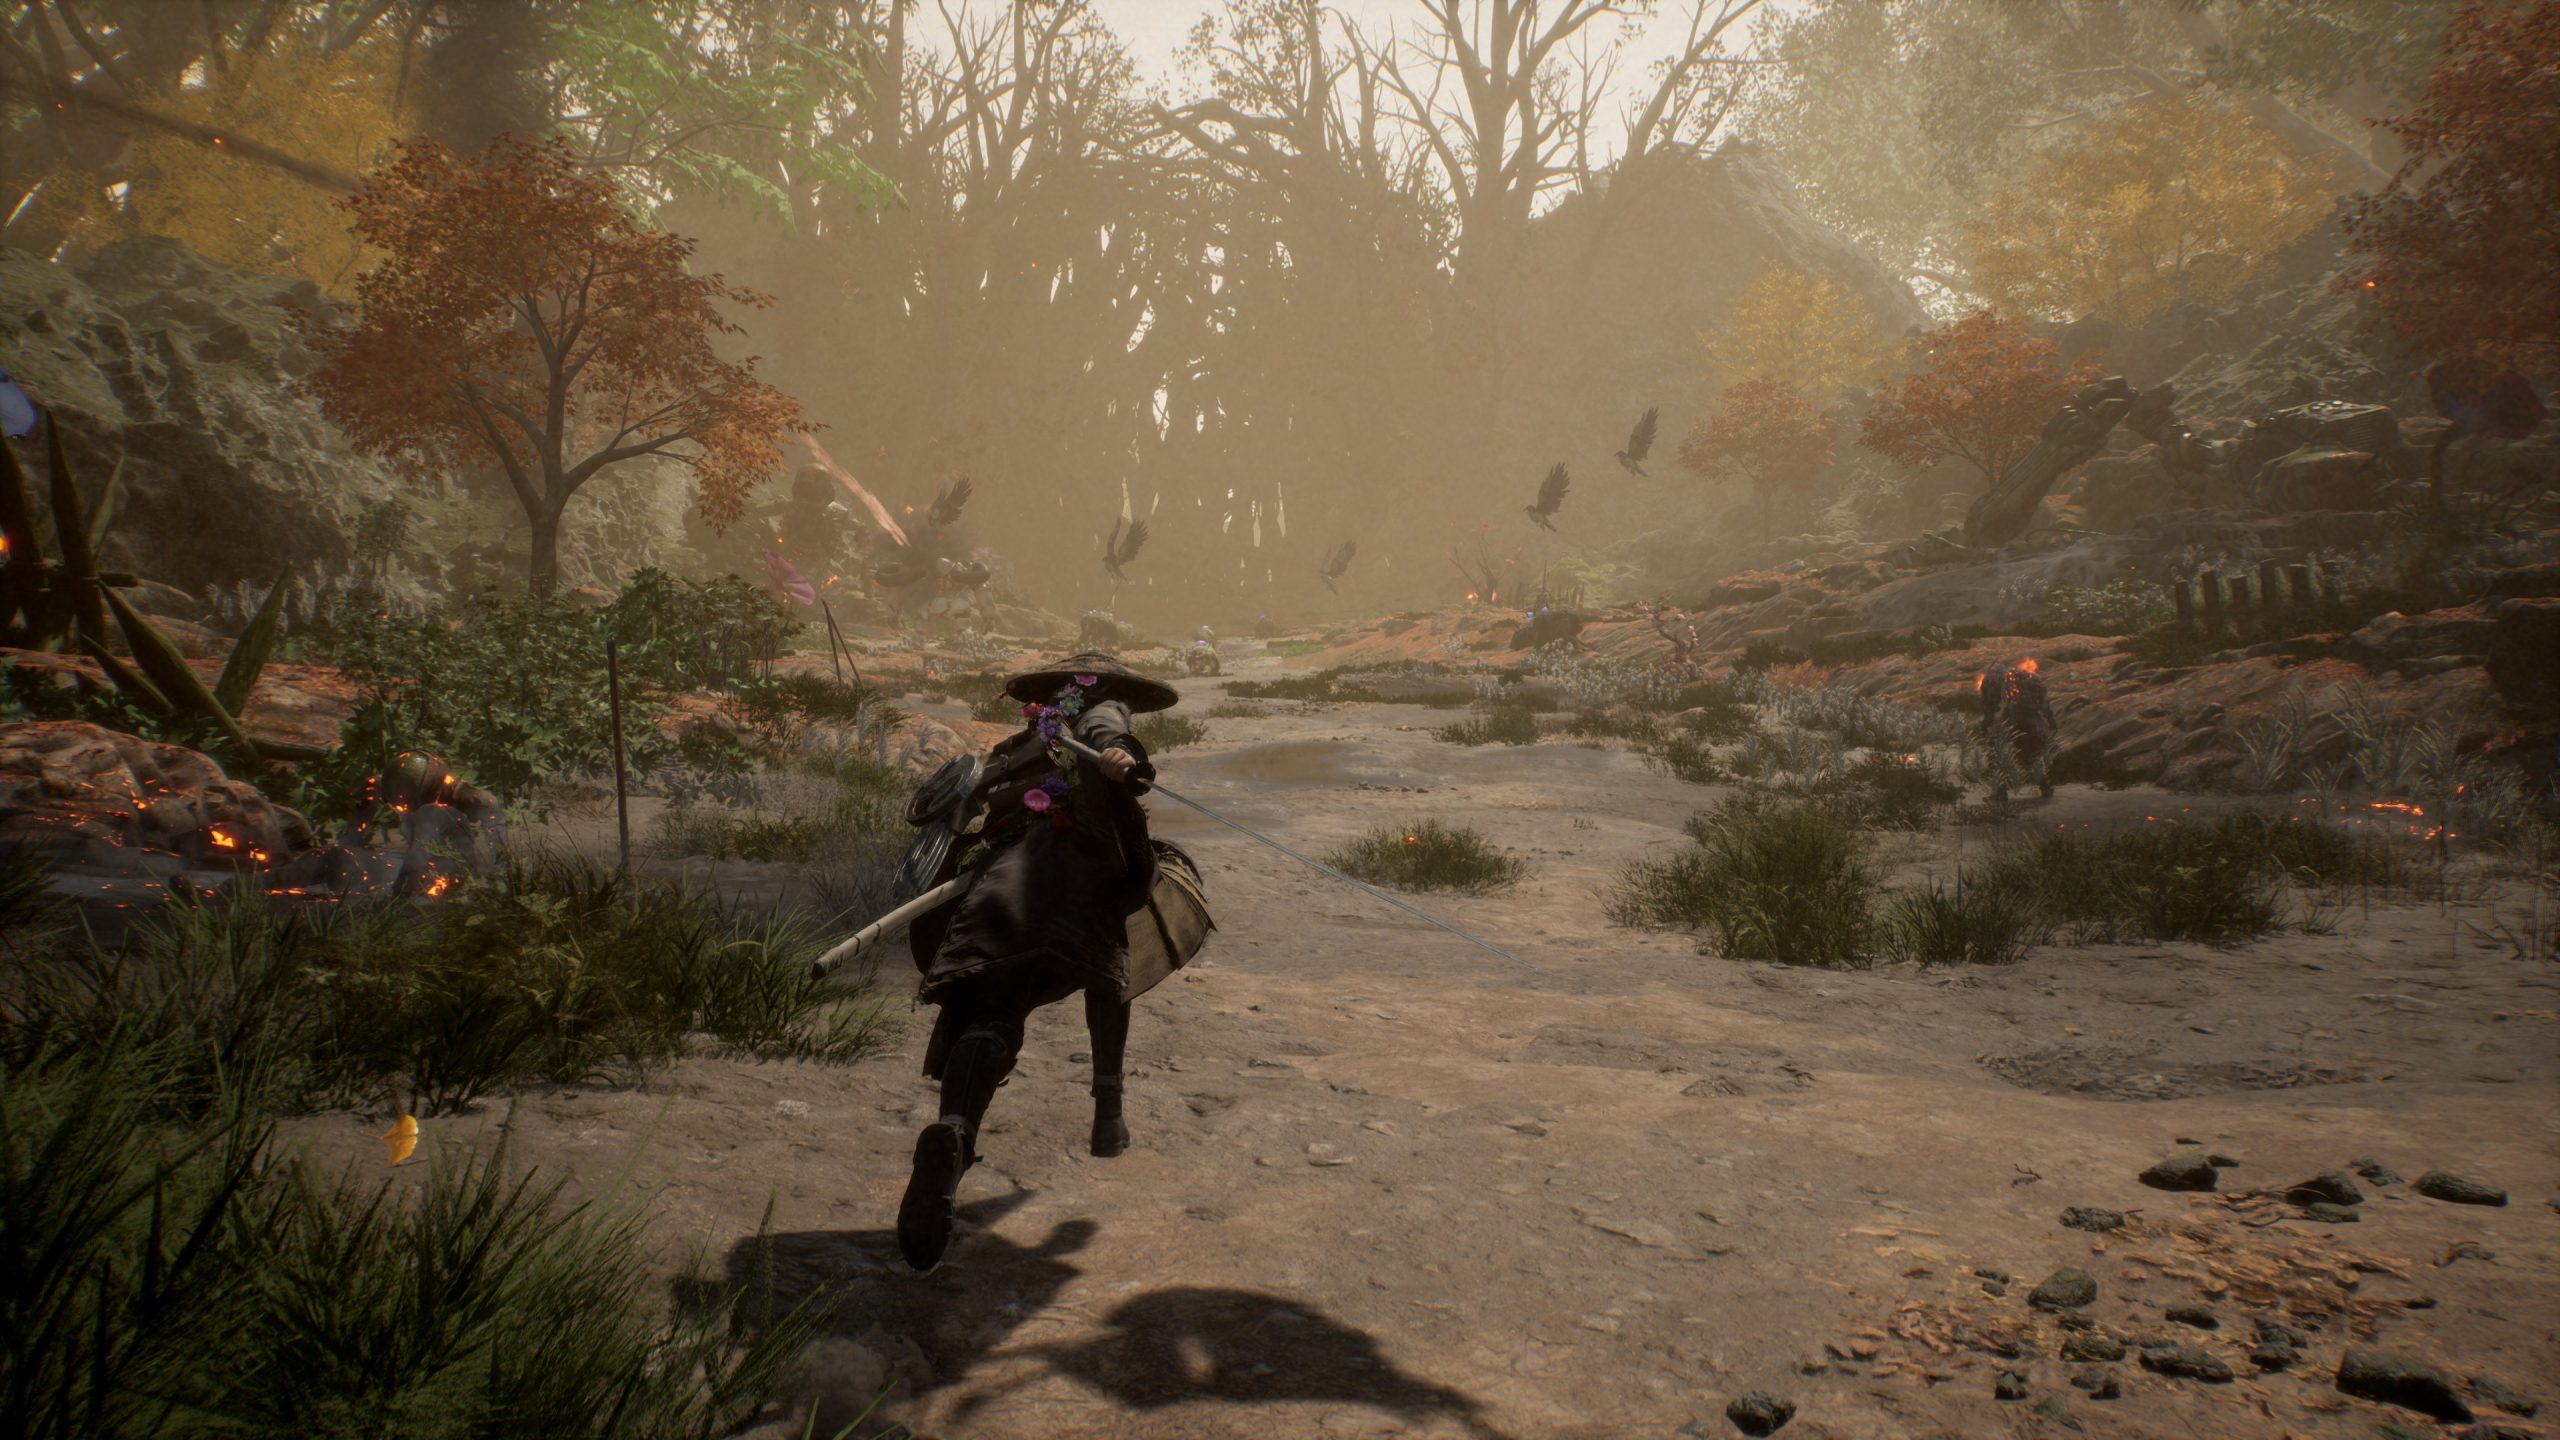
Beast of Reincarnation opts for linear, mid-sized maps with excellent vertical design rather than an open world. The maps are quite open despite having a single main path—or two at best—leading to quest objectives, and the verticality forces players to learn Emma's movement abilities, including a branch-growing skill that creates platforms for reaching hidden ledges. Optional areas dot each map, giving the impression of a larger space than actually exists. Basic stealth mechanics are woven in, letting players approach groups of enemies on their own terms before committing to a fight. A player might spot a ledge above, use the branch ability to climb, discover a dead-end alcove with nothing in it—a common occurrence due to the game's relatively low budget—or find a side path leading to a book that teaches Koo a new skill. The level design philosophy mirrors Sekiro: Shadows Die Twice in its focus on verticality and optional detours, though the visual variety across maps is limited; most areas feature a similar mix of overgrown vegetation and ruined civilization. Collision and terrain can feel wonky in places, and some ledges lead to rewards that do not justify the detour. Still, the structured layout keeps the journey focused—there is always a clear next objective, and the optional vertical exploration gives players enough agency to feel like they are choosing their route rather than being funnelled down a corridor.
What performance issues should PC players anticipate?
PC performance is hampered by two types of stuttering: shader compilation stutters that appear only on the first launch, and traversal stutters that persist throughout the game during quick movements like grappling onto ledges to launch into the air. On a high-end system—i7-13700F, RTX 4080, 32 GB RAM—running at 4K resolution with NVIDIA DLSS in Balanced Mode and a mix of high and max settings, the benchmark in the Ogouchi Buffer Zone averaged 96 FPS with a 1% low of 53 FPS. Gameplay was smooth for the most part, but traversal stutters rarely caused the frame rate to drop significantly below 60 FPS, and most players will not have hardware this capable. The upscaler implementation has a specific flaw: the game reverts to AMD FSR 1 every time it is relaunched with NVIDIA DLSS selected, requiring the player to reapply their preferred setting. Image quality differences between DLSS, FSR 1, FSR 3, UE5's TSR, and TAUU are almost indiscernible, though a small performance gap exists—inside the walker, the game hit the 120 FPS cap in Performance Mode but only the high-90 range in Ultra Quality. Ray tracing is available for improved lighting and reflections, but the visual difference is not massive. Players on mid-range systems should expect traversal stutters to be more pronounced, and the requirement to manually reset the upscaler on every boot adds a minor friction to the PC experience.
How does the narrative balance personal journeys and world-building?
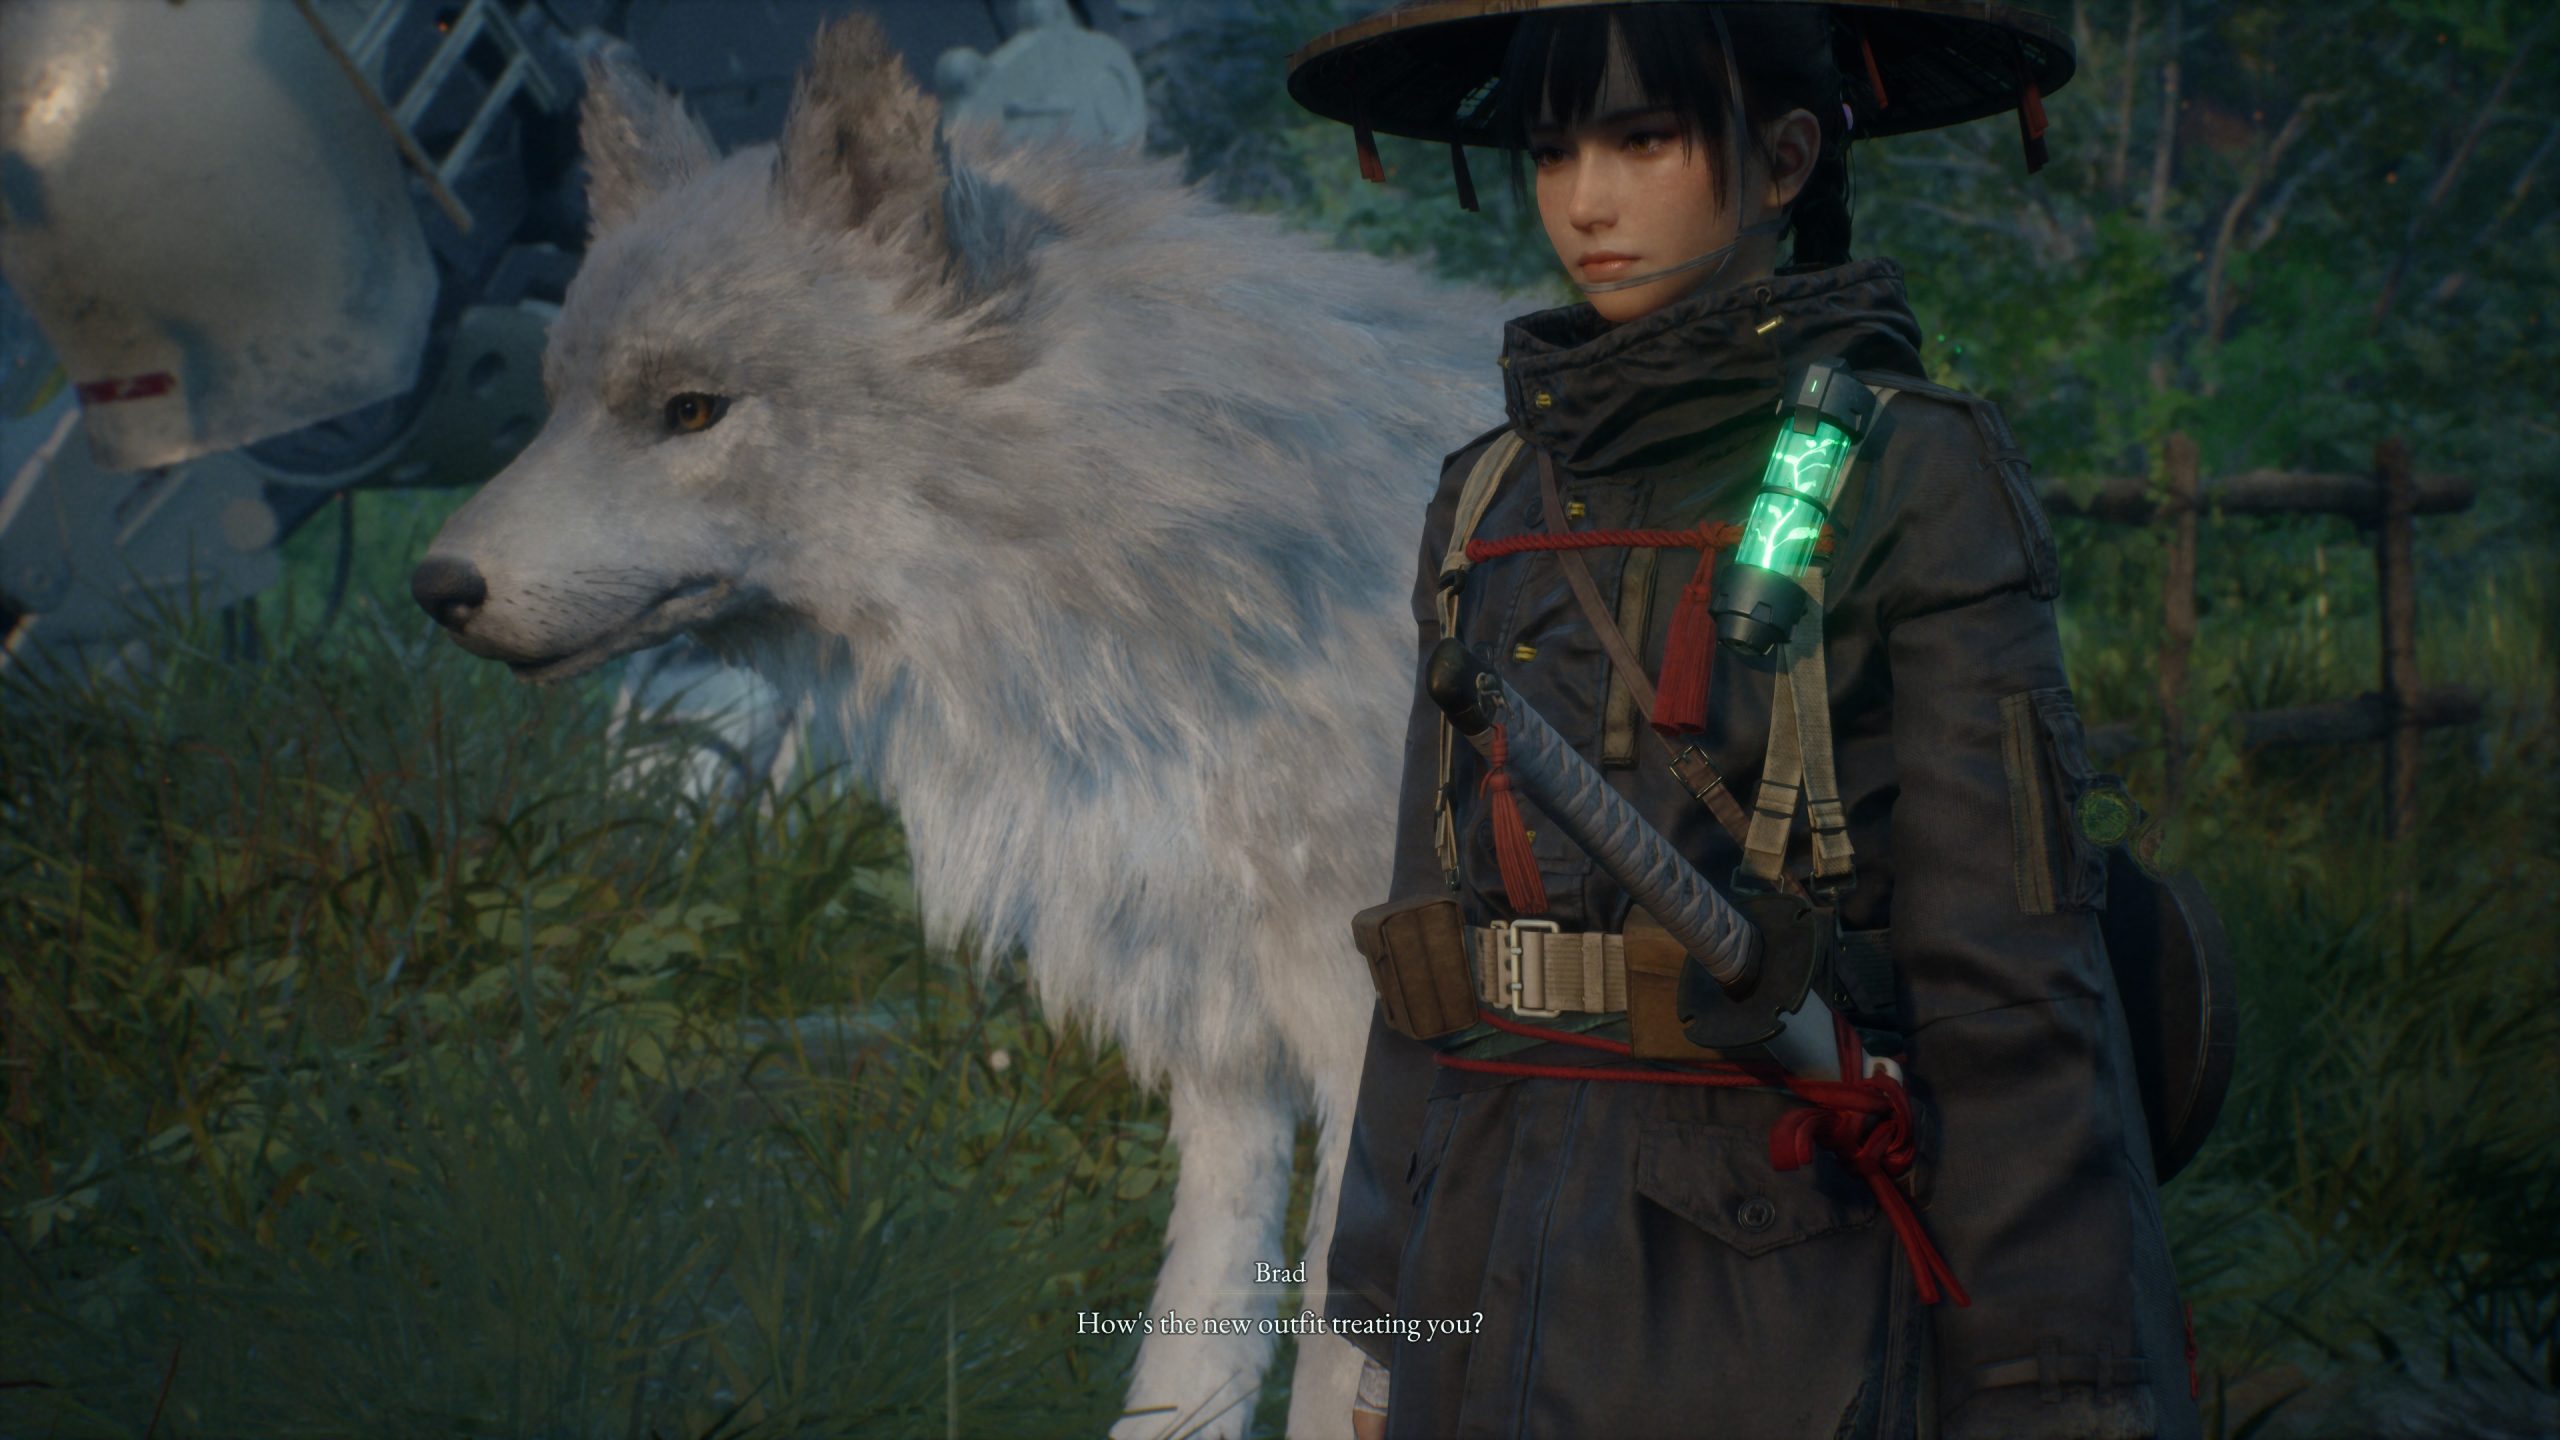
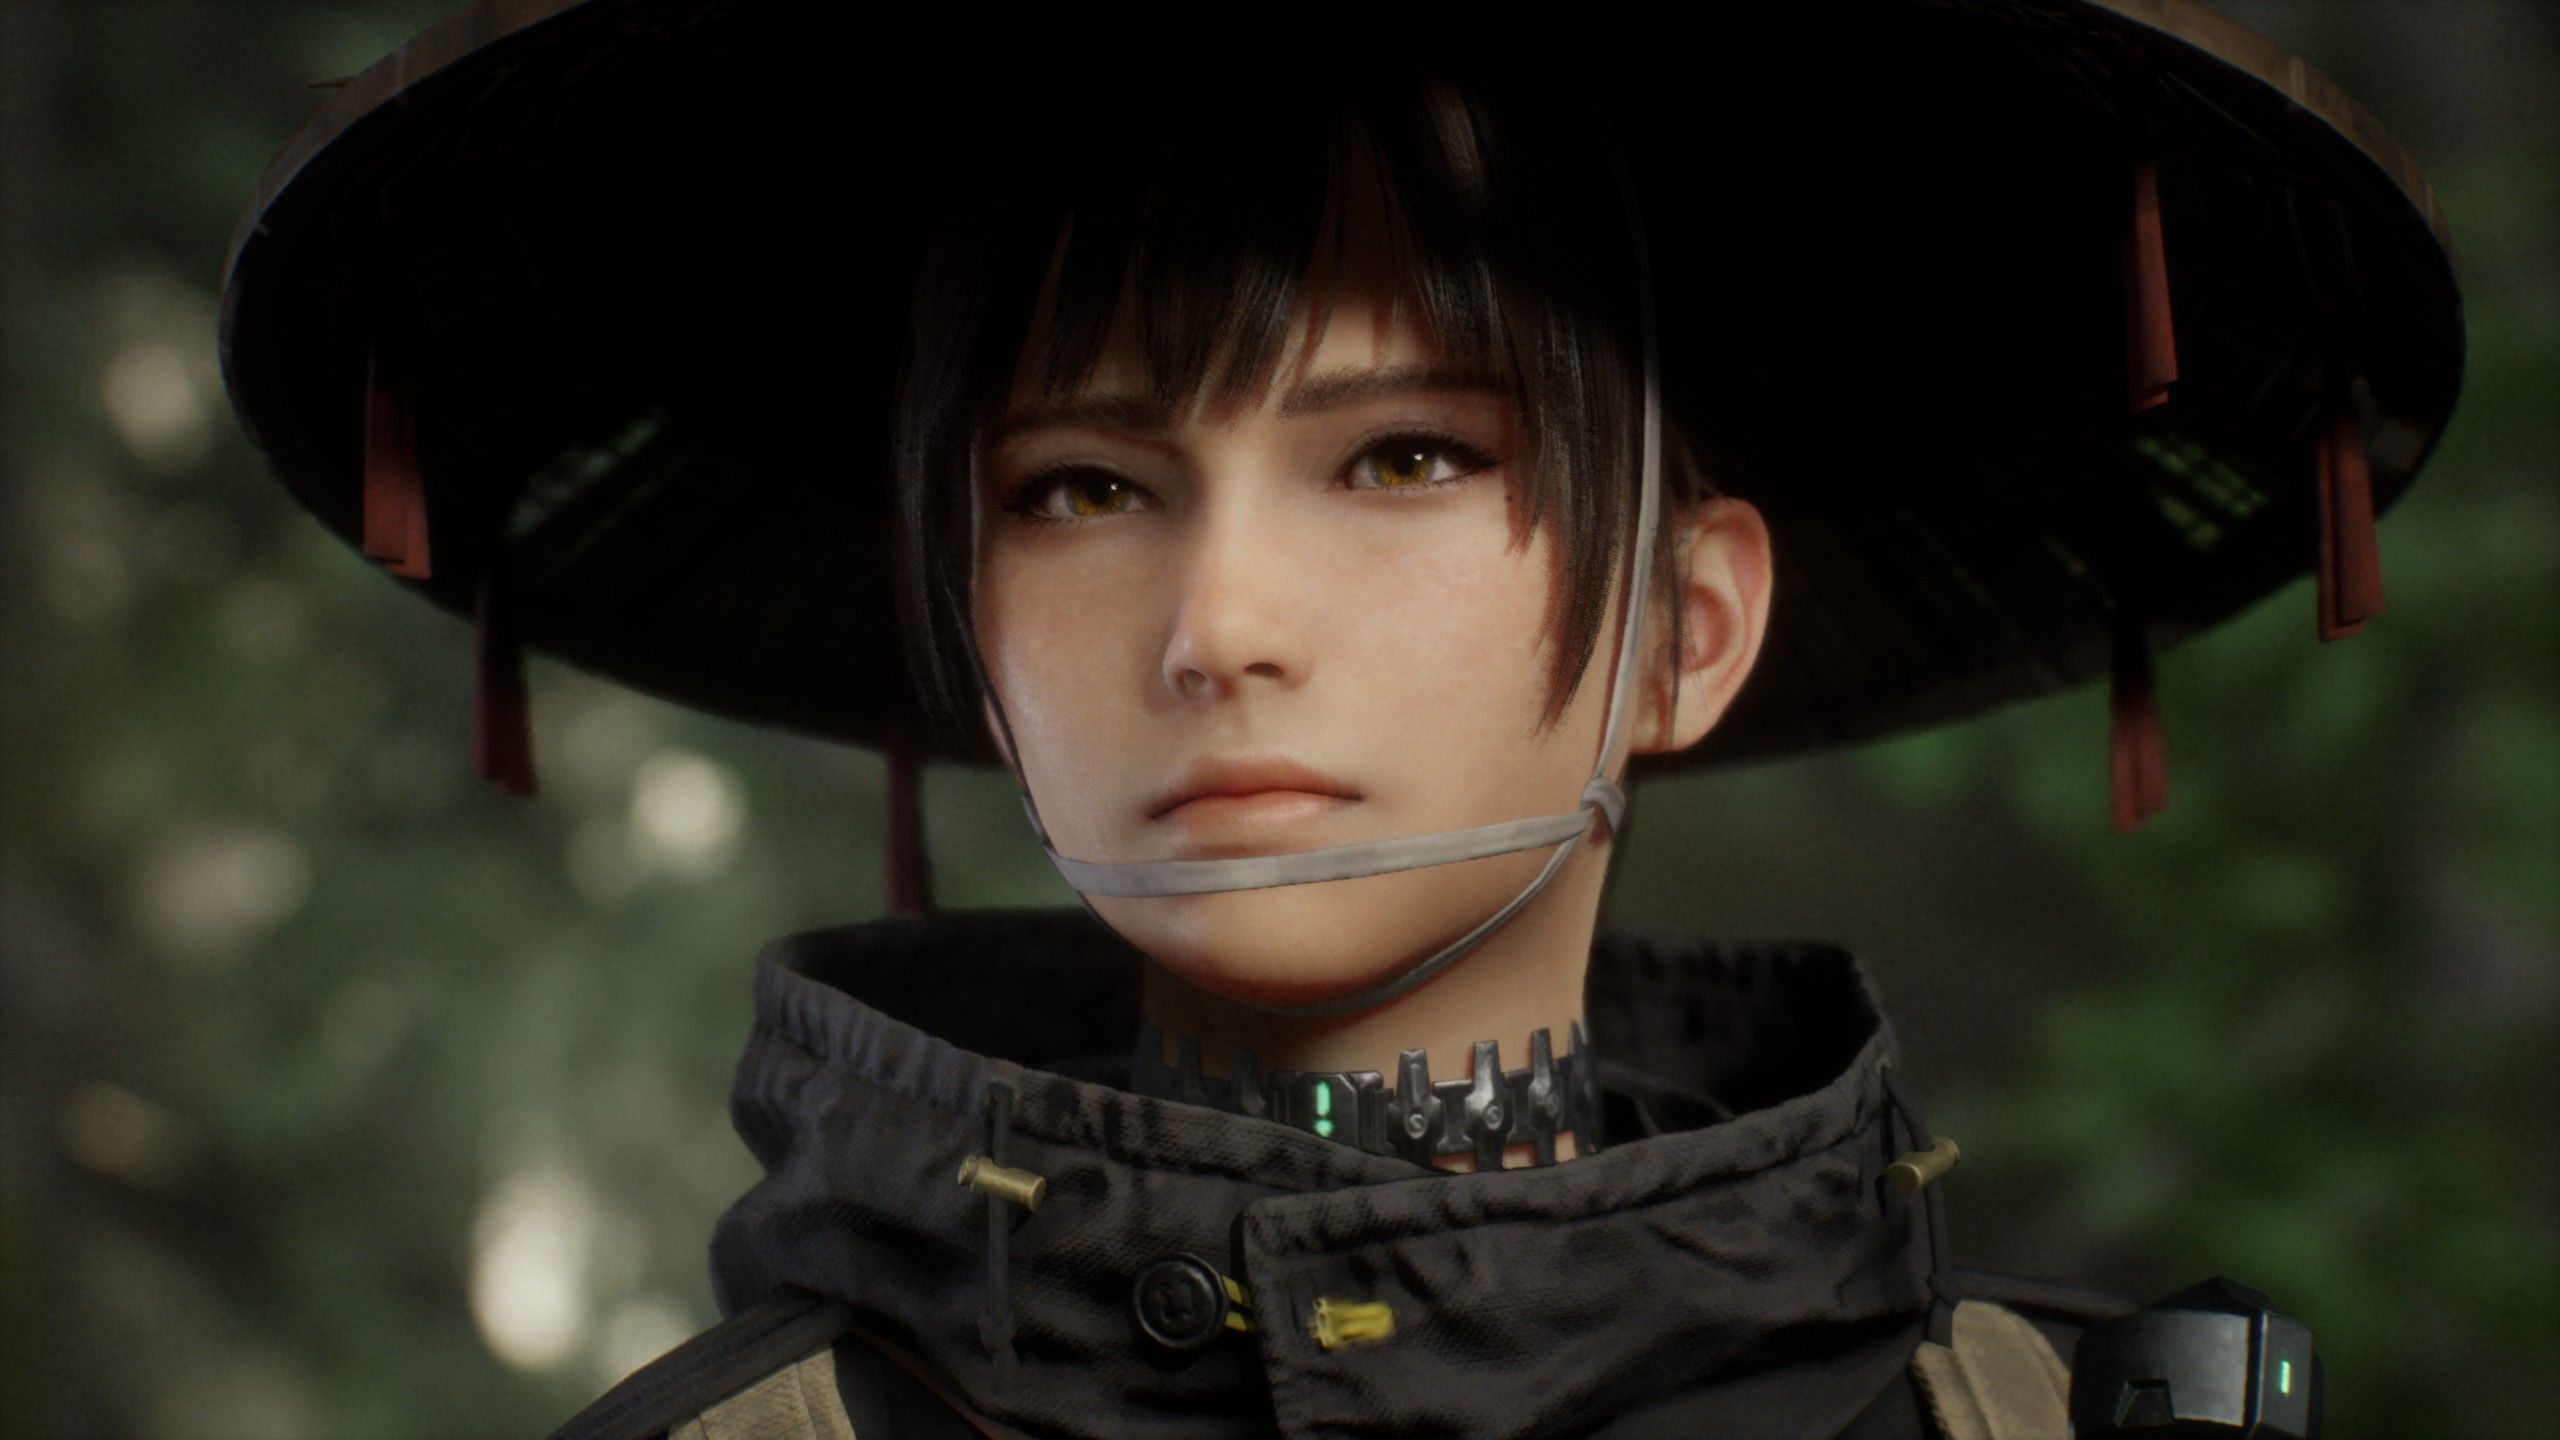
The story draws heavily from the NieR series and Hayao Miyazaki's Princess Mononoke, centering on Emma, an 18-year-old Purifier with no memory of her past, her Blight-afflicted companion Koo, and a spirit called Violet journeying toward the Capital to defeat the Beast of Reincarnation. The pacing is one of the game's strongest narrative qualities: each chapter introduces new mysteries while resolving older ones, with no time wasted on side stories that do not matter to the main quest. Emma's emotional arc—moving from a shunned outcast in the Ogouchi colony who has never felt human emotions to someone capable of genuine connection—unfolds through interactions with Kagura, the young girl who brought her food, and Brad, the old man driving the Cleanse Walker who knows more than he reveals. The world-building, however, arrives in concentrated bursts: humanity transferred into steel Golems after a cataclysm, souls deteriorated and went mad over time, and only a few sane Golems remain in a hostile land dominated by Blight and Malefacts. These revelations often come through dialogue rather than environmental storytelling, and the roughly 30-hour runtime does not linger to let them sink in. By the final chapters, lore and exposition from characters like Brad compete with Emma's personal resolution for screen time, and the broad strokes of the world's history can feel rushed against the carefully built emotional core. The destination is well crafted, but the interpersonal beats remain the strongest reason to stay invested.
How has Game Freak's Pokémon legacy influenced the game's reception?
Game Freak is primarily known as the developer of the Pokémon series, and its history outside that franchise consists of relatively minor projects that never became truly successful. Beast of Reincarnation, originally announced in 2023 as Project Bloom, surprised many gamers because of this track record. The developer handled creative direction and overall project management while much of the actual development was carried out by external partners, with publisher Fictions overseeing the release on PC, PlayStation 5, and Xbox Series S|X. The game's roughness—collision wonkiness, limited enemy variety where Golems are mostly distinguished by weapons and Malefacts by their beast of origin, and environments that lean toward repetitive mixes of vegetation and ruins—aligns with a lower production budget rather than the polish expected from a Pokémon title. The combat system's depth, the well-paced story, and the epic Nushi boss fights show Game Freak's creative ambition, but the technical shortcomings and the first five hours of clunky, limited combat options point to the gap between that ambition and what the studio could deliver when working outside its established engine and team. The game stands as a solid foundation with potential for a sequel to refine enemy variety and technical performance.
Source material: wccftech.com — this piece is based on that published source material.
Images