Game Freak
Beast of Reincarnation: parry timing, Bloom Arts, builds, and performance explained
Game Freak's action RPG mixes Sekiro-style parrying with turn-based dog commands — here's how the systems actually work and what to expect from your hardware.
How does the parry system work in practice?
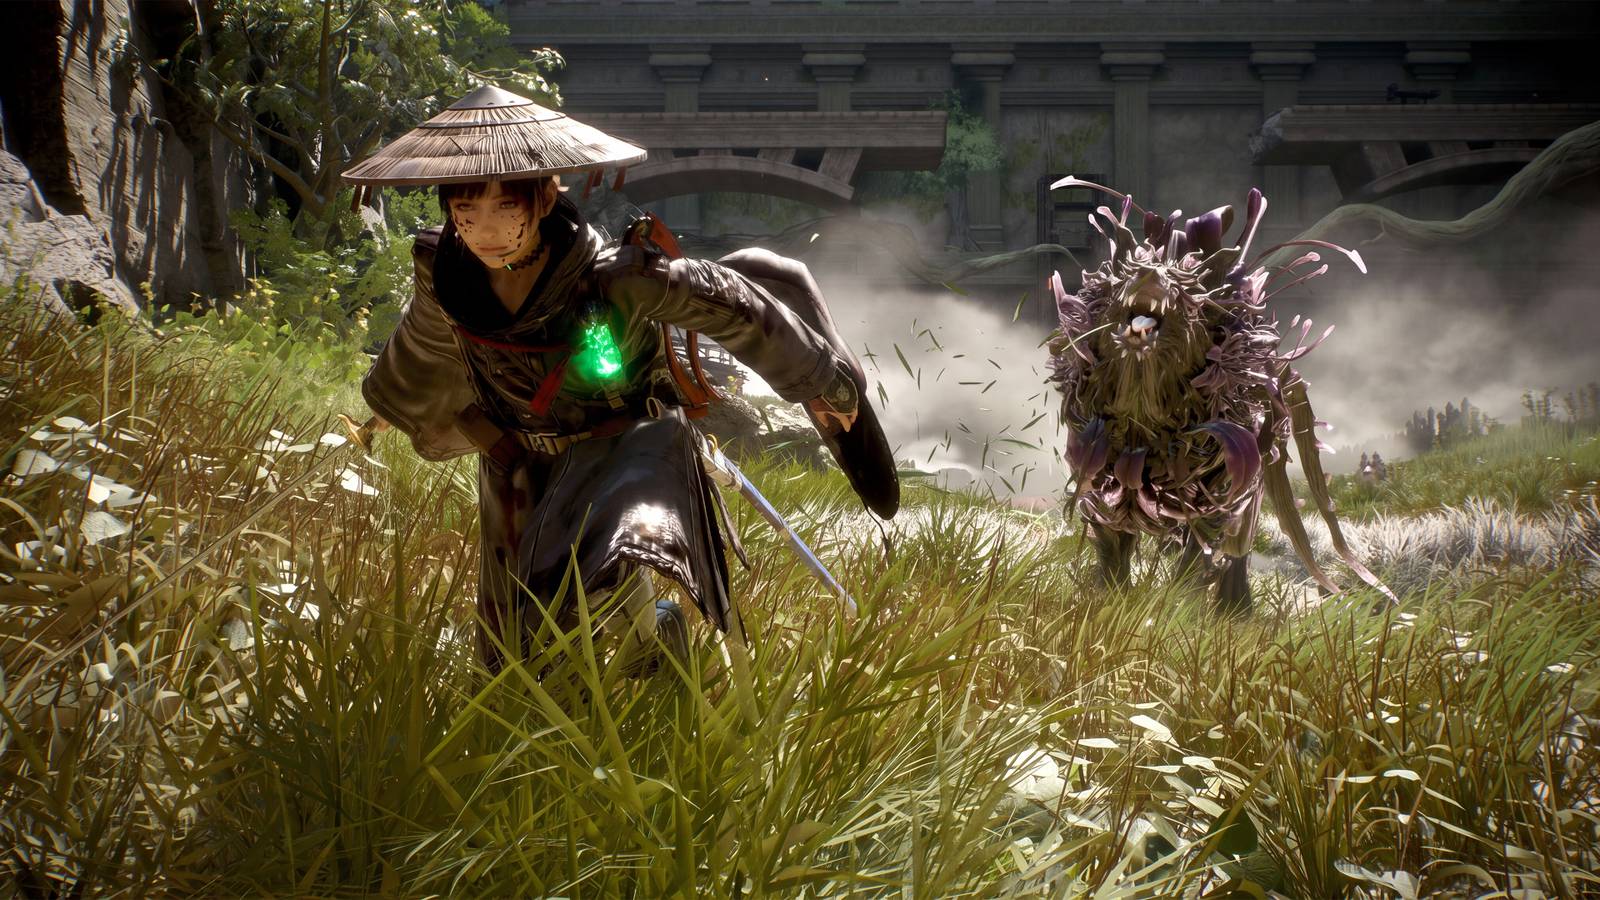
Beast of Reincarnation's combat is built around a parry that is more forgiving than Sekiro's but less so than Stellar Blade's. A successful parry not only negates damage but also fills the Entanglement Gauge, which fuels Emma's special attacks and lets her slow time on foot. The same parries restore Fluorescene Points (FP) for Koo's Bloom Arts — you start with 4 FP, and early on parrying is the only way to regain them. The window is generous enough that you can spam it, but missing a parry against Hard difficulty enemies can cost you most of your health bar. Later, you unlock parry-triggered effects on swords, such as passive buffs from Spirit Stones, making the timing more rewarding. Because dodging has few invincibility frames and significant end lag, parrying is almost always the better defensive option.
What exactly are Koo's Bloom Arts and how do they control?
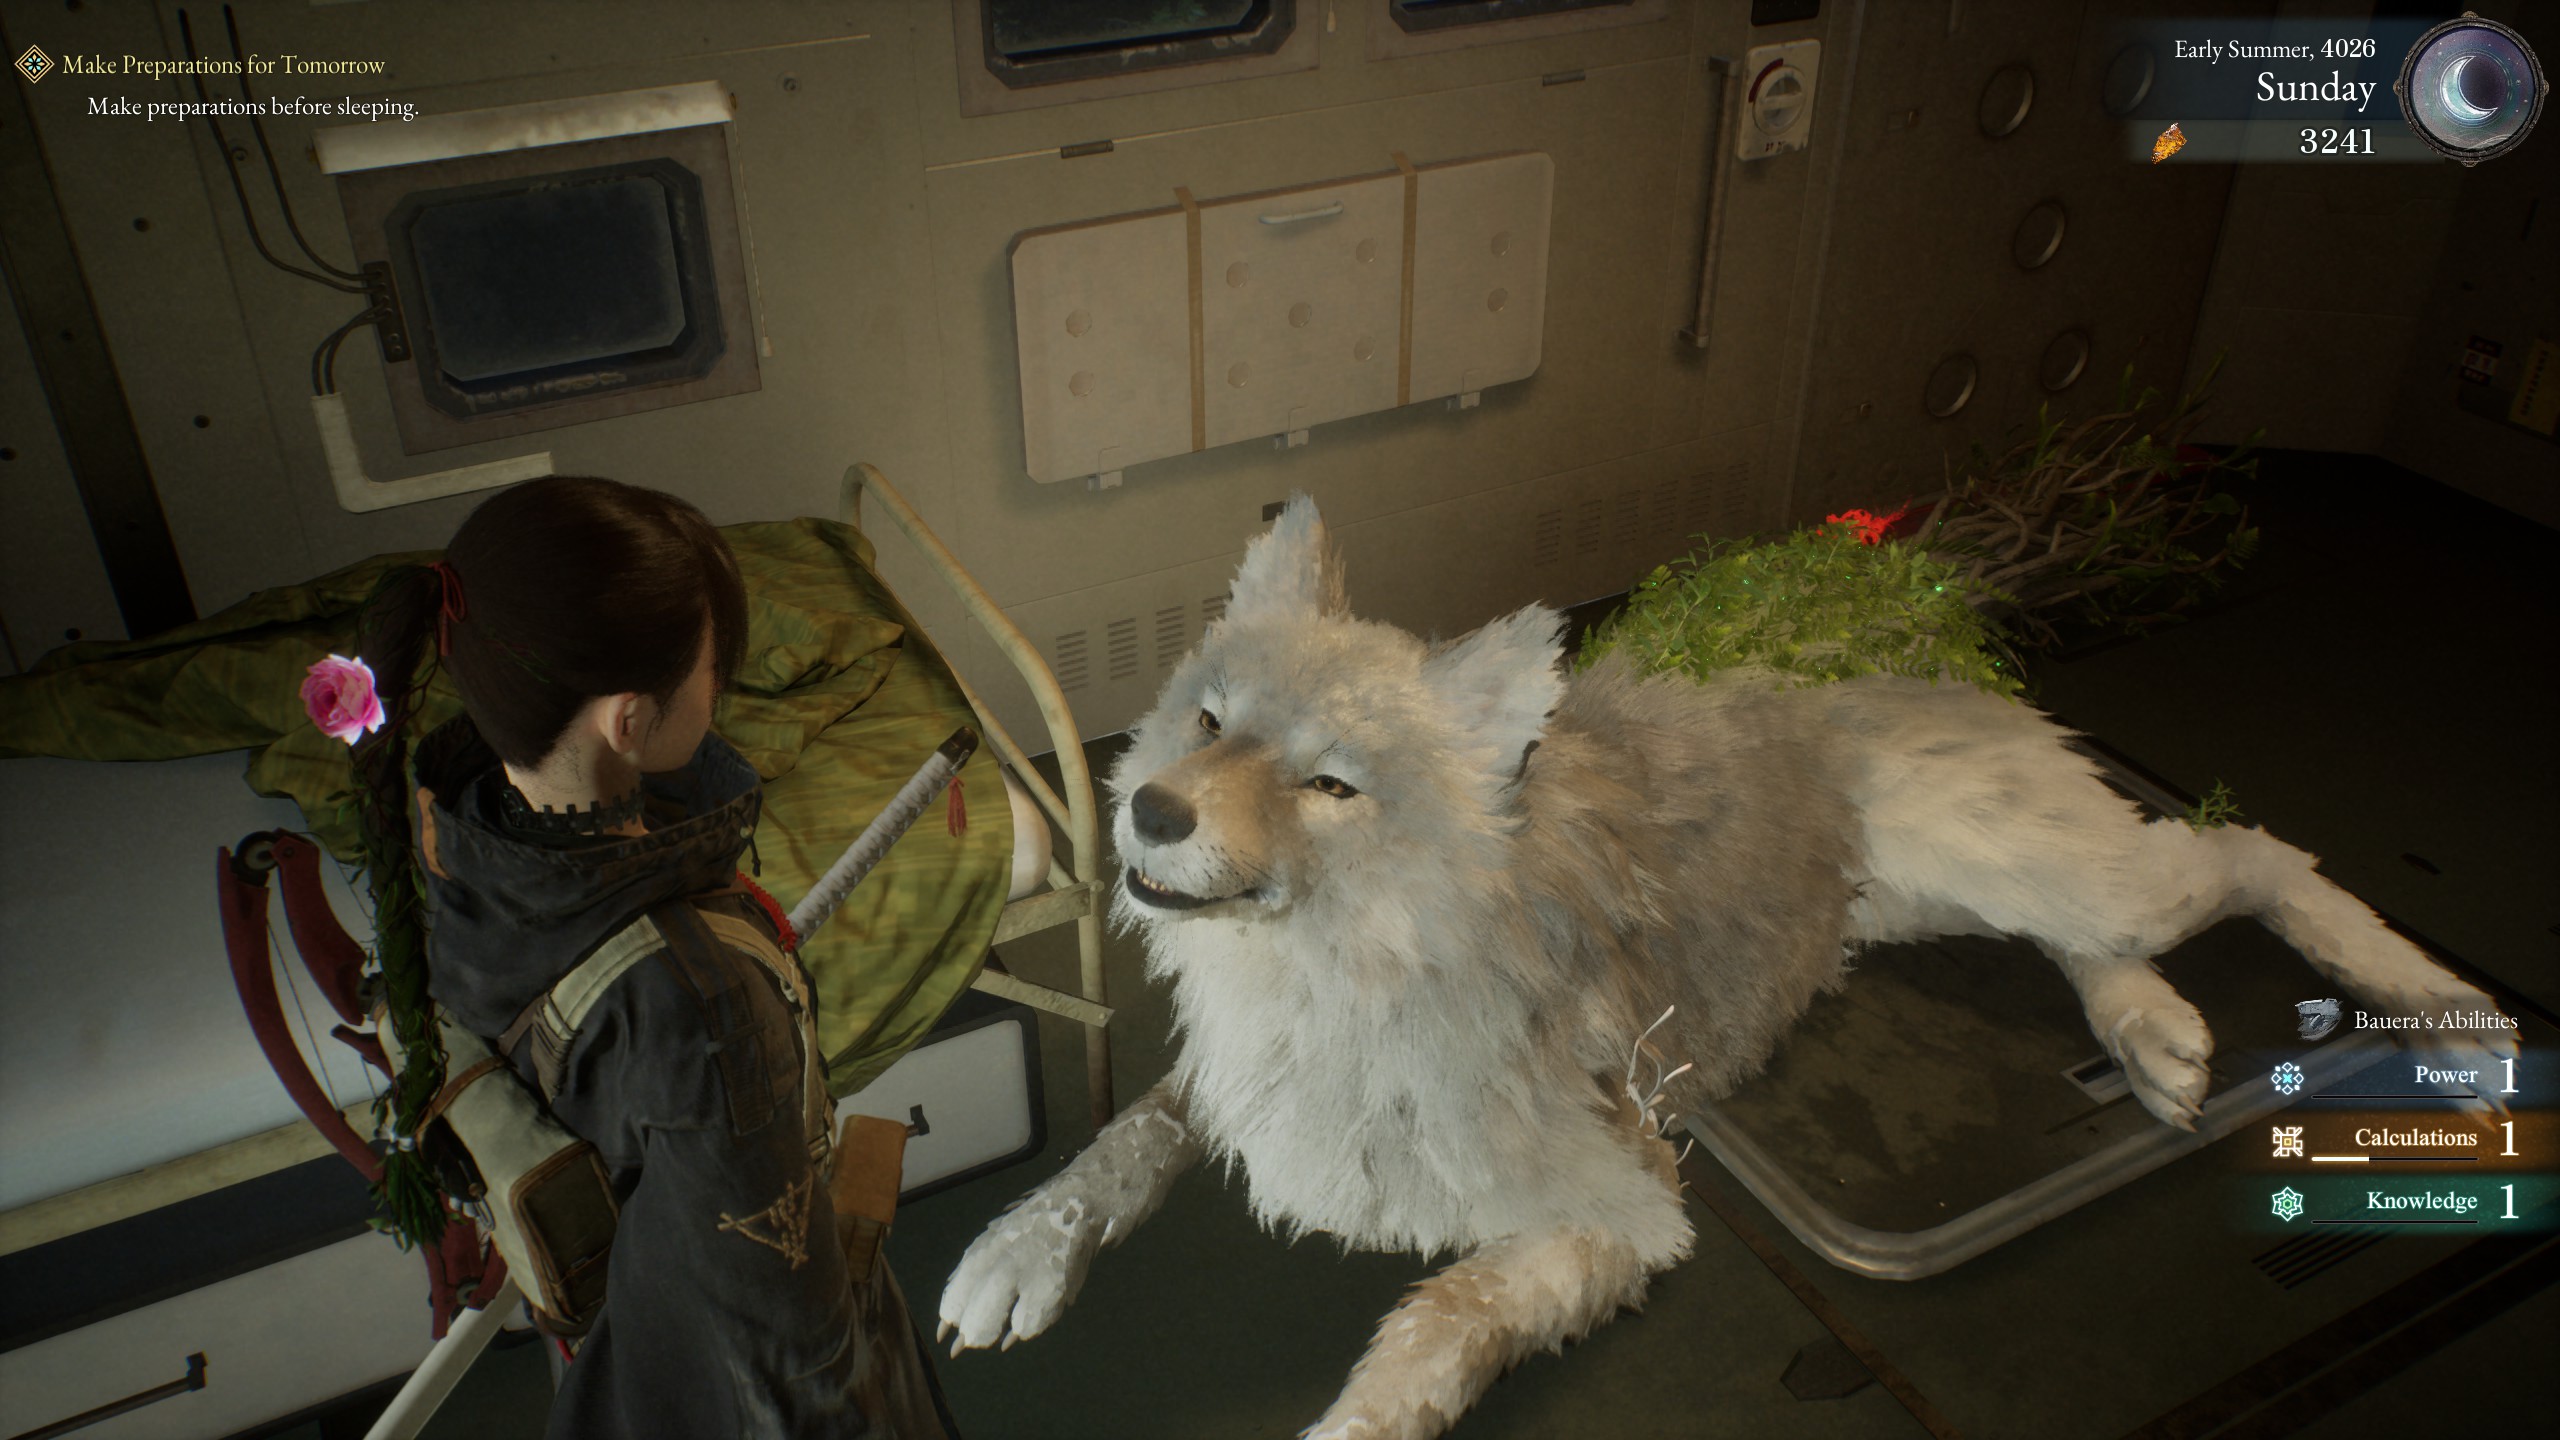
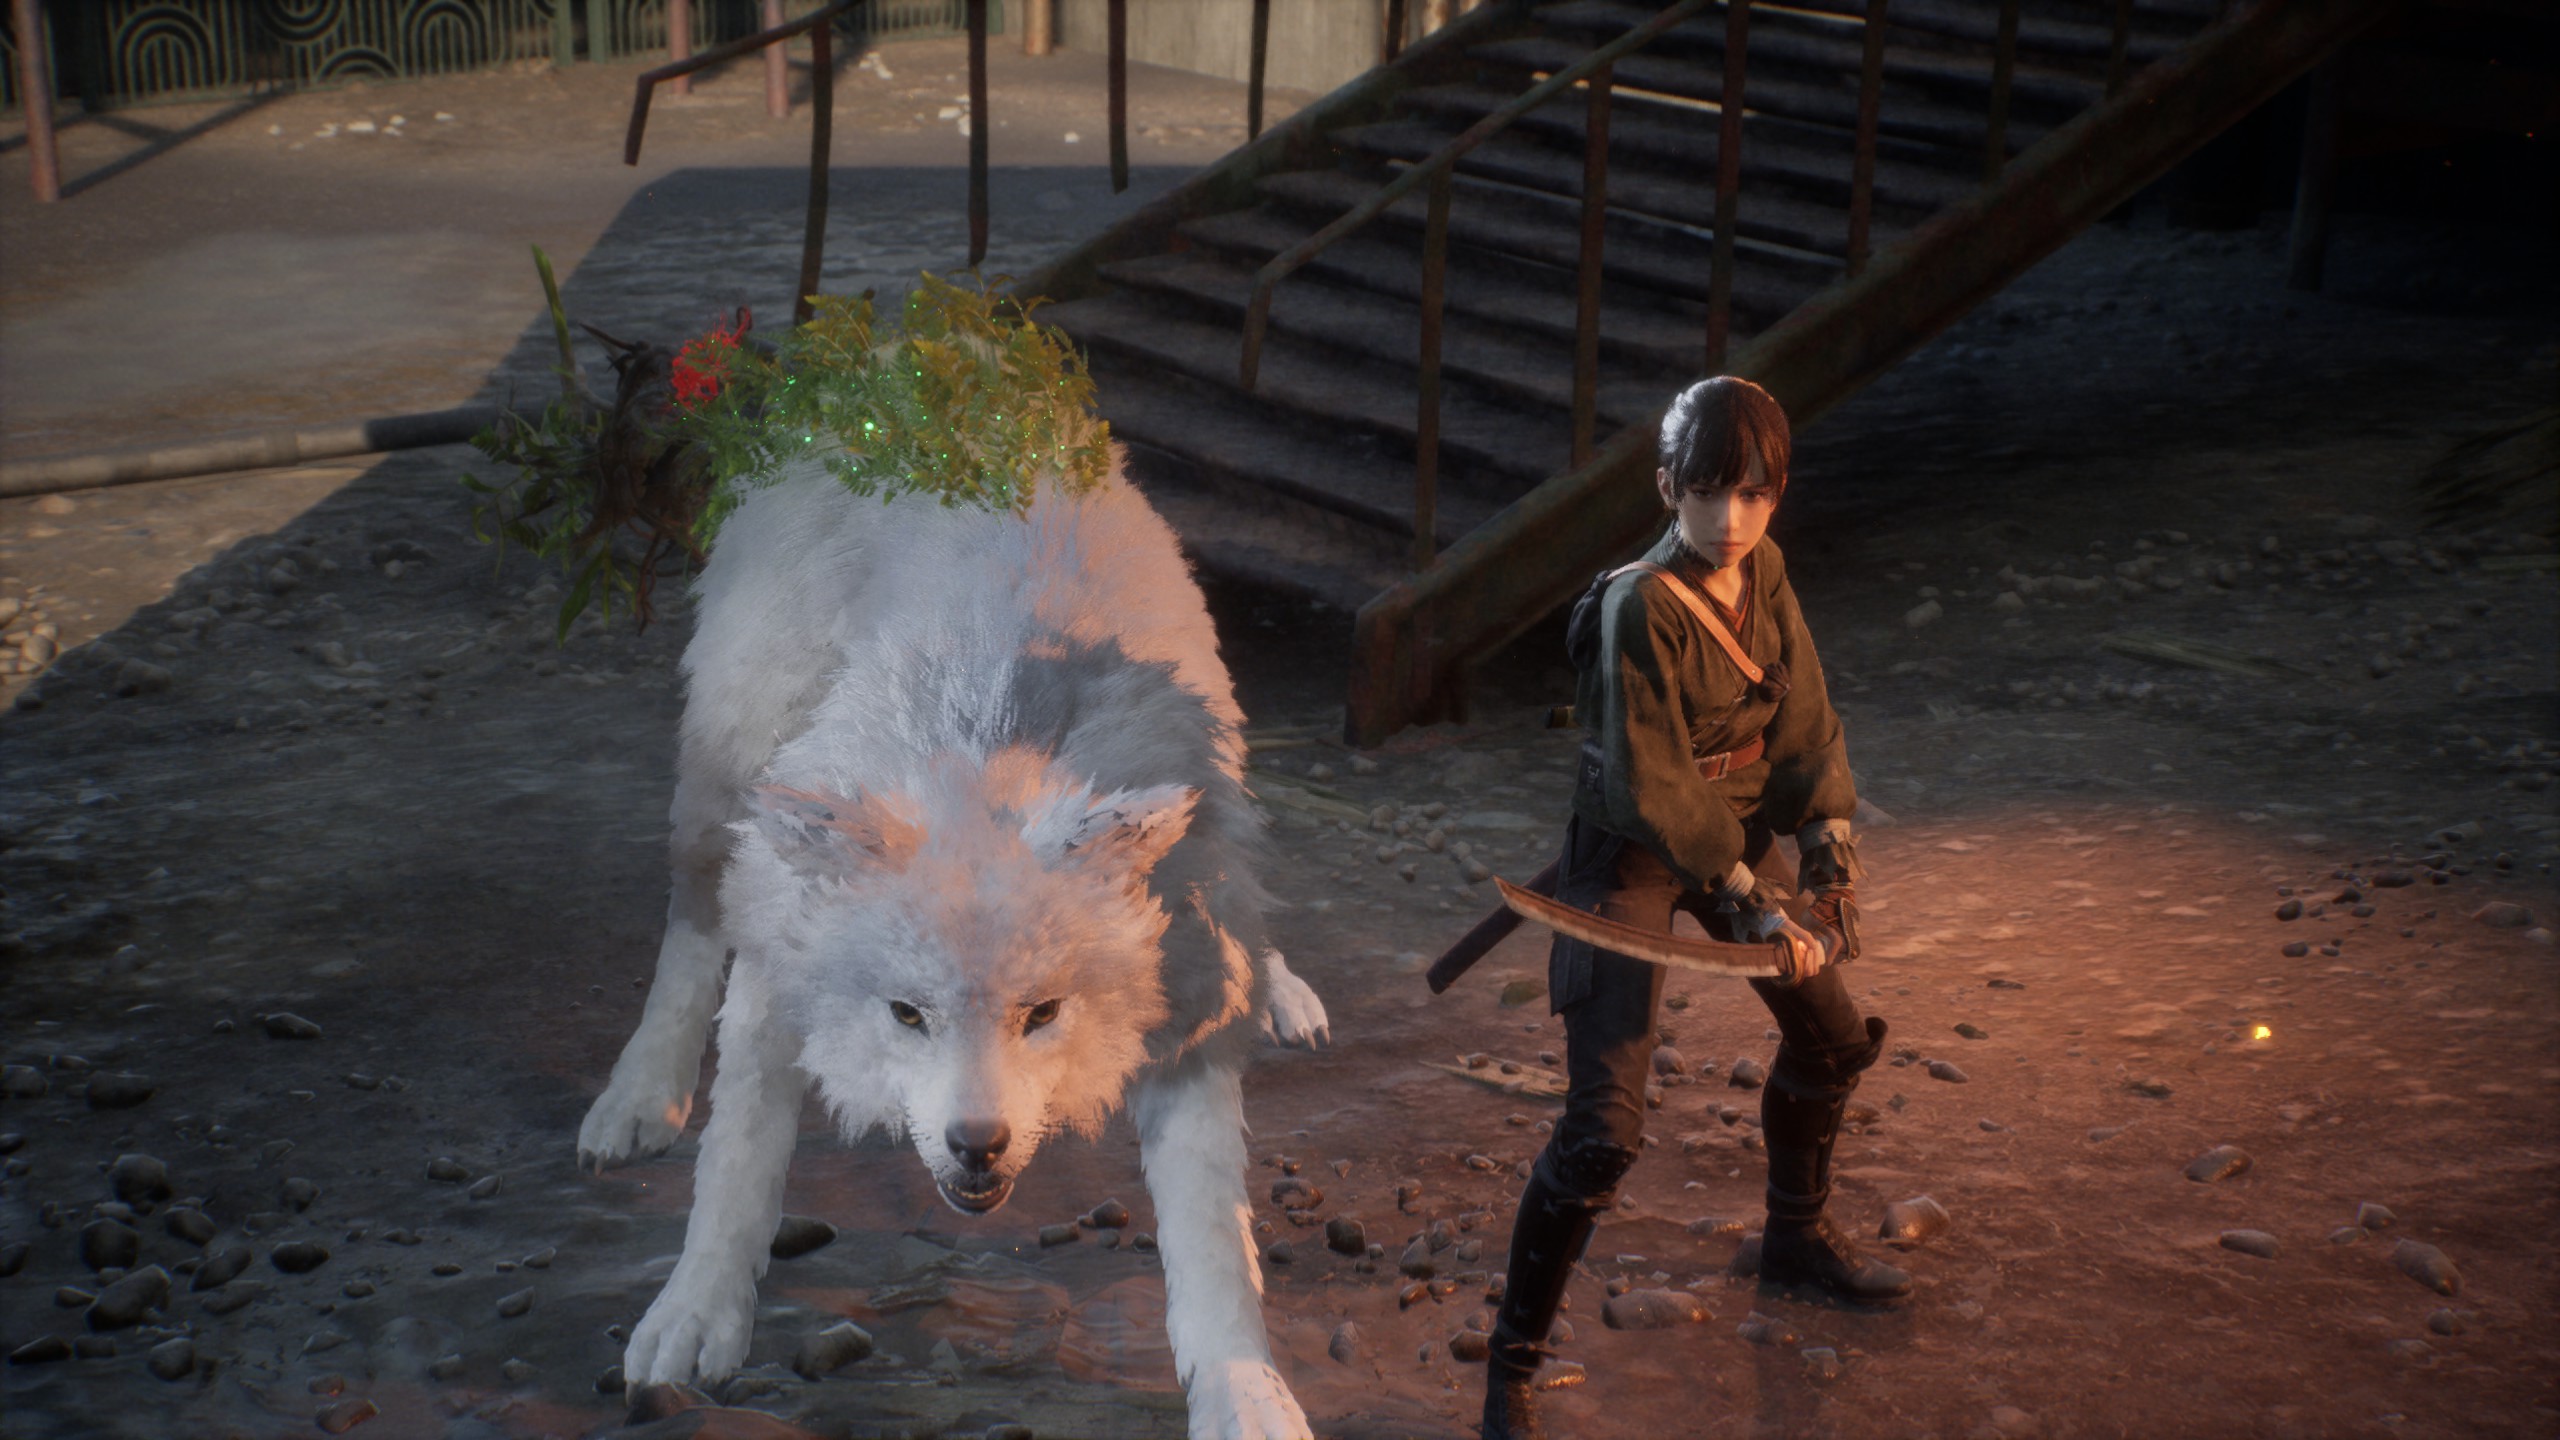
Koo is a Blight-afflicted dog that assists in combat via a turn-based menu. Press Triangle/Y to slow the action and open a list of special moves, each with unique properties and FP costs. Koo executes the art when you pick it, and certain modifiers — unlocked through the skill tree — grant Emma buffs if the art hits an enemy afflicted with a specific status. For example, a fire-based Bloom Art can set up a burn that your next charged crossbow shot exploits for bonus damage. The system also provides breathing room: while the menu is open, enemies freeze, letting you assess and reposition. Using Bloom Arts competently restores a sliver of Emma's health, which matters because most regular enemies kill in two or three hits. Koo also fights automatically on its own with basic attacks, but the manual arts are far more effective.
How deep is the buildcrafting for Emma and Koo?
Much deeper than a typical action game. Emma's customization centers on swords that carry passive effects triggered on successful parries, and Spirit Stones that grant everything from flat attack boosts to conditional FP recovery. Koo's kit is built around equippable skills and crafted items in up to six slots, unlocked by raising rapport and finding books in the world. Both characters share a pool of skill points, so you must choose between investing in Emma's ranged combat, melee strings, or Koo's utility arts. A separate system lets Kagura cook meals from ingredients you harvest on the Cleanse Walker; eating her dishes permanently raises stats like max HP or damage, and you'll need frequent rests to keep up. The build space is surprisingly flexible — for example, a spirit stone that refunds FP when you hit a weakness can turn a crossbow-focused Emma into a near-unlimited artillery platform.
What are the known performance issues on PC and PS5?
Performance is a mixed bag depending on your rig. On a laptop with an RTX 3060, Ryzen 5 5600H, and 16GB RAM, I saw frequent drops below 60 FPS on medium settings with FSR 3 enabled — even low settings occasionally stuttered. A high-end PC (i7-13700F, RTX 4080, 32GB RAM) at 4K with DLSS Balanced averaged 96 FPS but dropped to 53 FPS in 1% lows, with traversal stutters when grappling. A launch-day patch may have improved things, but it wasn't tested. On base PS5, Performance Mode holds a solid 60 FPS most of the time, but water, heavy lighting, and dense foliage cause noticeable dips, along with foliage pop-in. All upscalers have issues: the game reverts to FSR 1 on restart if you select DLSS, and image quality differences between modes are minimal. If you're on a mid-range PC, expect to fiddle with settings.
Which difficulty should I pick, and how does Hard scale?
Hard difficulty is available from the very start and is the only real test for experienced action-game players. On Hard, standard enemies can kill Emma in two or three hits, missing a parry has serious consequences, and boss attacks hit hard enough that a single mistake can cost a healing item. Normal presumably loosens those numbers, but the game's design assumes you'll parry constantly. The early hours feel clunky regardless of difficulty: you have only one combo string, attacks have noticeable input delay, the dodge has very few i-frames, and the parry window is so generous it can throw off your timing when you try to react to telegraphed moves. That roughness fades after the first few regions as you unlock new strings and Bloom Arts. If you want a challenge, Hard is the way; if you want to enjoy the story without frustration, Normal isn't a walkover either.
What are the best weapons and tactics for the opening hours?
Early on, your bow and crossbow are surprisingly powerful. Both come in three elemental varieties (fire, poison, lightning) and ammo replenishes automatically at campsites, so you can soften enemies from range before they close. The crossbow's bolts can home between multiple targets once upgraded, which trivializes groups. For melee, focus on learning the parry timing because it's the only way to feed Koo's FP pool — you'll want to parry even when you could dodge, just to keep your dog's arts active. Emma's hair ability isn't just for traversal: in combat you can use it to grapple to ledges and slam down or fire arrows mid-air. Don't neglect exploration early, because the first region's optional areas hide extra healing stim packs and recipe books that make the later gauntlets manageable. The biggest mistake is ignoring Koo's Bloom Arts in the early game, as they're your only reliable source of burst damage.
Source material: pcgamer.com — this piece is based on that published source material.
Images