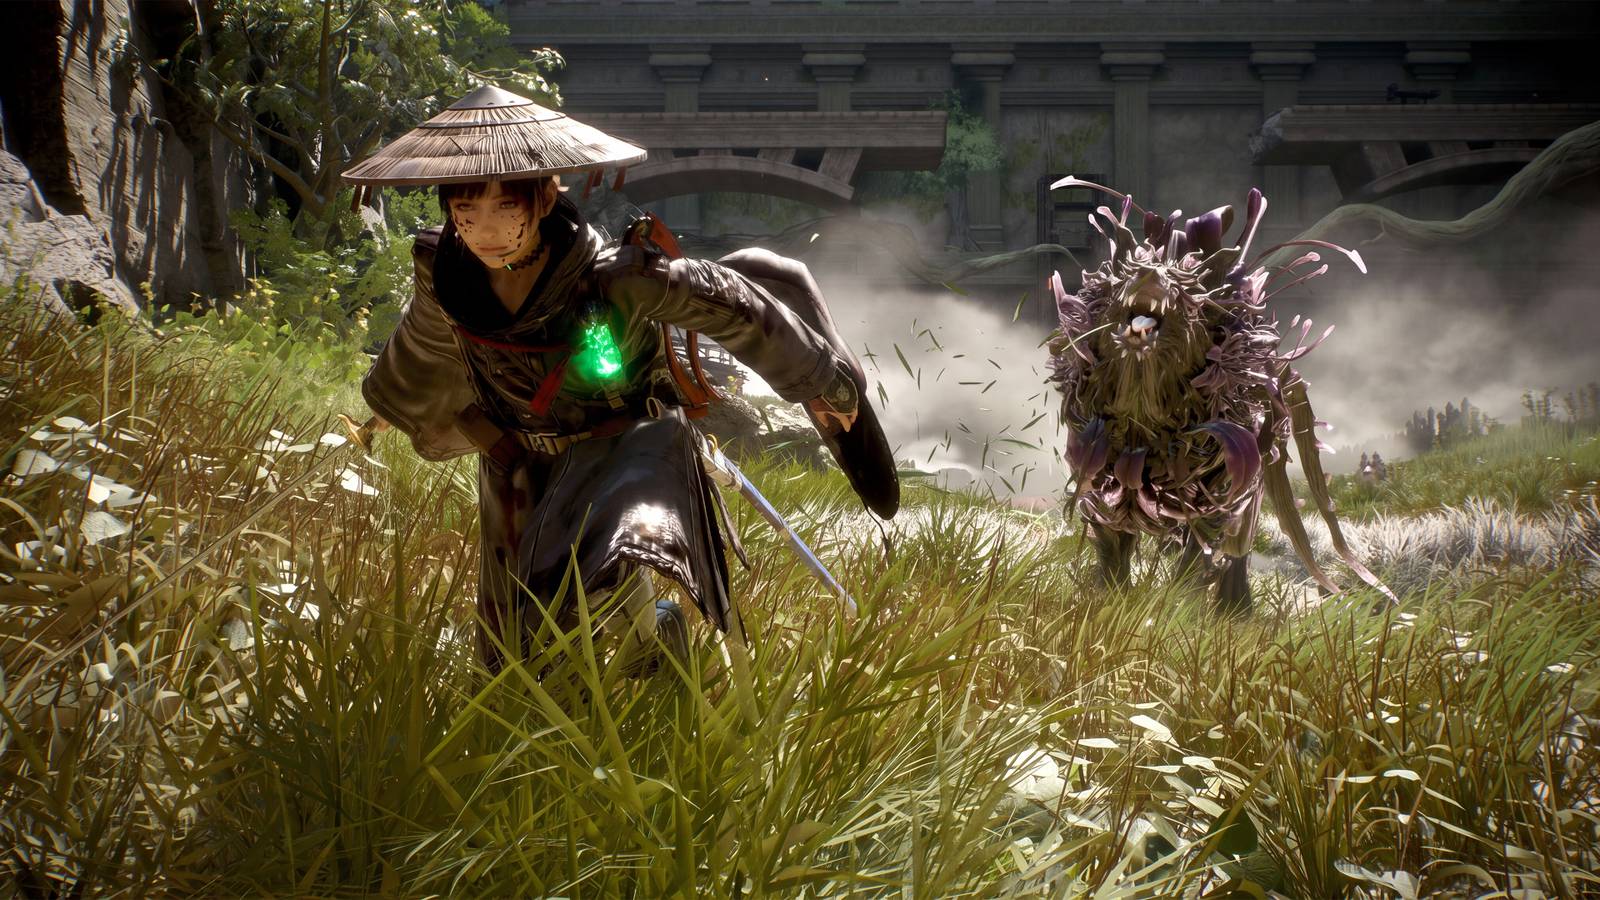
Beast of Reincarnation
Taurus Keeps Running Away: How to Catch and Punish Beast of Reincarnation's Bull Boss
The bull-like Nushi disengages constantly, but binding abilities and grapple-closing tactics turn a tedious chase into a controlled fight.
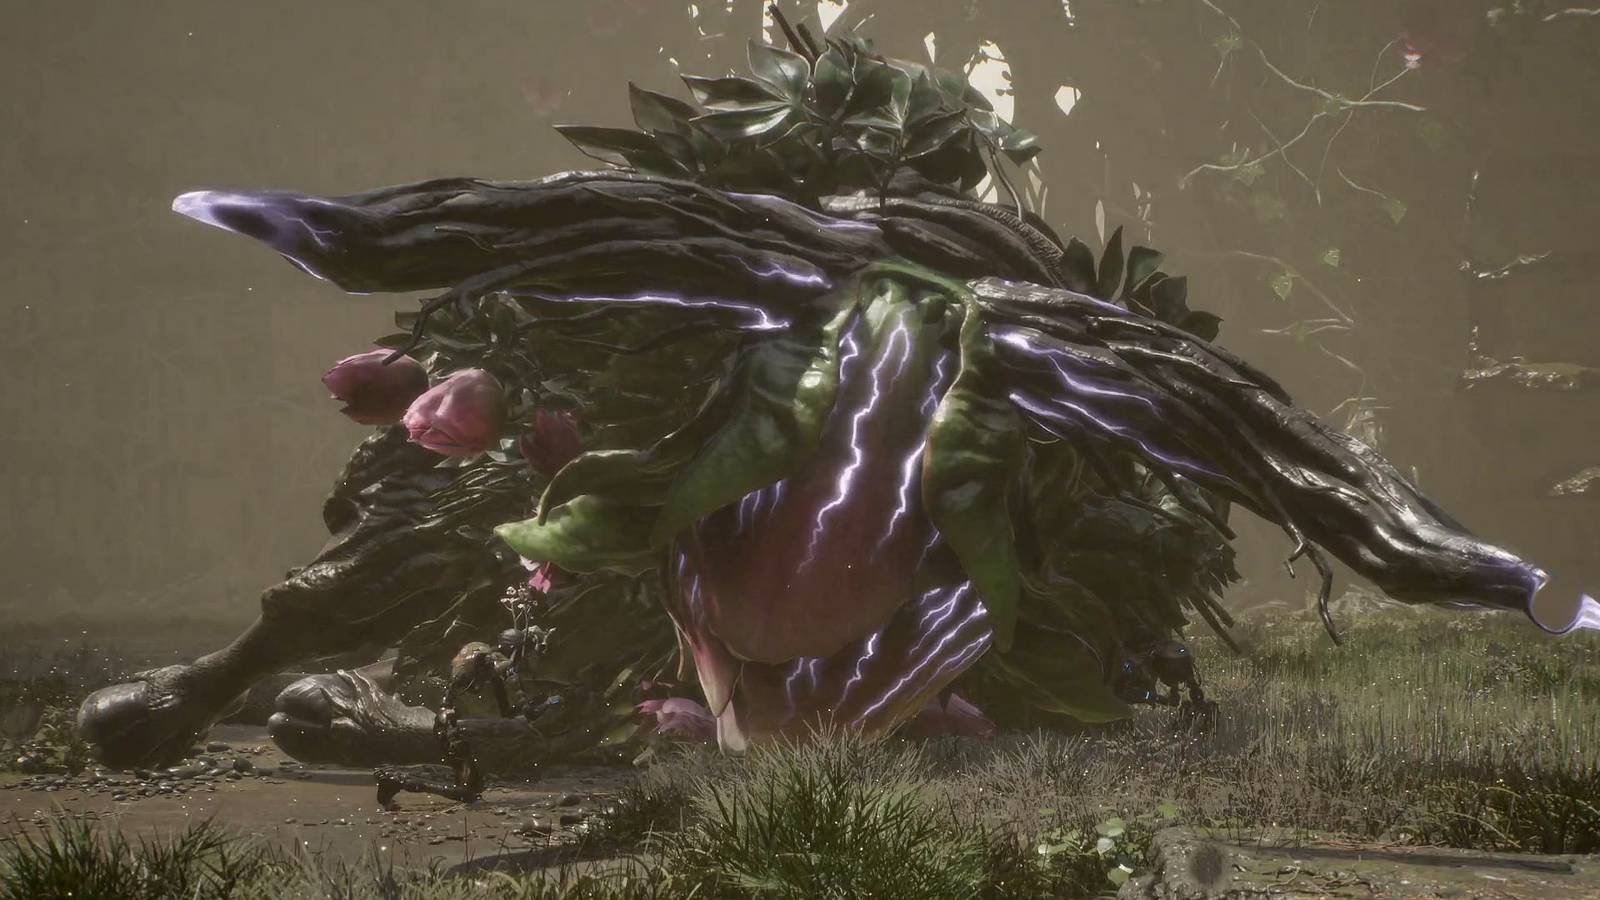
What is the Taurus fight structure in Beast of Reincarnation?
Taurus is a four-legged, bull-like Nushi encounter with two distinct phases. The second phase begins after Taurus retreats and regroups following its initial defeat, meaning players must beat it twice across the campaign. Phase one features five core attacks—Horn Swing, running Projectiles, Spiked Head charge, Area-of-Effect ground Spikes, and a Tracking Spike—while phase two adds a single new move: a five-hit combo with a pronounced delay after the fourth strike. The boss's defining behavior across both phases is constant disengagement; Taurus will take a few hits, strike back, then sprint to the far side of the arena, forcing players to chase it down repeatedly. In practice, this means each damage window lasts only a few strikes before Taurus breaks contact, circles the perimeter firing projectiles, and eventually re-engages on its own terms. Players who rush in recklessly eat a Horn Swing on the disengage or catch a Tracking Spike mid-pursuit. The fight rewards patience and positioning over aggression—staying mid-arena lets you react to both the retreating swipe and the projectile spread without burning stamina on long sprints. Koo's kit is built around this rhythm: Javelin closes distance instantly when Taurus bolts, while binding abilities pin it in place long enough to land a full combo before it can flee again.
How do you close the gap when Taurus runs away?
Koo's Javelin ability skewers Taurus with a spike that Emma can grapple onto, pulling her directly back into melee range. The catch is that Javelin costs multiple Fluorescene Points and goes on cooldown until another ability is cast afterward, so it cannot be spammed freely. The recommended rotation pairs Javelin with one of Koo's binding abilities, which immobilize Taurus and create a window for sustained damage. Alternating between the two keeps the boss pinned or within reach far more often than chasing it on foot. Without this rotation, the fight devolves into a tedious loop: Taurus sprints away, Emma sprints after it, eats a Horn Swing on the re-engage, lands one or two hits, and watches it bolt again. Javelin short-circuits that loop entirely—grapple in, land three or four strikes while Taurus is still recovering from its flee animation, then pop a binding ability before it can disengage a second time. The FP cost means you need to manage your resource bar carefully; burning Javelin on cooldown without enough FP left for the binding follow-up leaves you stranded in melee with a mobile boss and no crowd control. Players who invest Spirit Stones into starting FP or FP regeneration can keep the rotation running longer, effectively pinning Taurus for extended stretches of the fight.
When is the best time to punish Taurus during phase one?
The Spiked Head charge—where Taurus grows a large spike on its forehead and rushes Emma—is the safest and most rewarding punish window. Players should have the special ability (activated with both thumbsticks) ready, then watch for the visual flash as Taurus approaches and dodge immediately; the timing is forgiving. A successful dodge leaves Taurus standing stunned for a substantial period, allowing multiple free hits or a full combo string. The stun duration is long enough that players can reposition, check their FP bar, and still land a full melee string before Taurus recovers—this is not a tight window. What makes it forgiving is the flash cue: a distinct visual marker appears just before the charge lands, giving players a clear signal to dodge. The special ability, triggered by pressing both thumbsticks simultaneously, amplifies the damage dealt during this punish window, so saving it specifically for Spiked Head charges is more efficient than burning it on smaller openings. Compared to the fleeting windows created by Horn Swipes or projectile recovery, the Spiked Head stun gives players the longest uninterrupted damage phase in phase one. It is also the safest attack to practice dodging—the charge path is linear, the flash cue is early, and the stun confirms the punish without requiring precise positioning afterward.
What attacks should you expect when Taurus disengages?
Every time Taurus turns to flee, it follows up with a quick Horn Swing. While running around the arena perimeter, it also fires three projectiles at Emma in a spread. Both attacks are parryable, but the difficulty lies in expecting them rather than executing the parry itself—players who anticipate the pattern can deflect consistently, while those caught off guard take chip damage during what feels like a safe moment. The Horn Swing is the more dangerous of the two because it comes at the exact moment Taurus breaks contact—players who are mid-combo or chasing aggressively will eat it before they can react. The projectile spread is easier to read because Taurus fires while running, giving Emma a brief window to sidestep or parry each bolt individually. Neither attack deals massive damage on its own, but over the course of a five-minute fight where Taurus disengages a dozen times, the chip adds up. The key is to stop swinging the instant Taurus starts turning away; the Horn Swing has a narrow hitbox that only catches players who are directly behind the boss. If you stay at a slight angle during the disengage, the swipe whiffs entirely, and you can parry the projectiles at range without the pressure of melee timing.
How does the phase two five-hit combo work?
In phase two, Taurus glows red and replaces its standard one-or-two-hit strings with four rapid successive strikes, then pauses before charging in with a fifth and final hit. The final hit is the hardest to parry in the sequence. The visual cue is Taurus's left horn driving into the ground—when the dirt particle effect appears, that is the moment to parry. Missing this parry deals significant damage, so players should focus on deflecting the first four hits and then commit to the timing on the fifth. The four rapid hits come out faster than most players expect from a boss that spent phase one telegraphing every attack; the red glow is the only warning that the combo is starting. The pause before the fifth hit is deceptive—it feels like the combo is over, but Taurus is actually winding up for a charge. Players who drop their guard during this gap take the hardest hit of the sequence. The dirt effect from the left horn is the most reliable cue in the entire fight; once you learn to watch for it, the fifth hit becomes consistently parryable. Missing the fifth parry is punishing enough that players should consider dodging instead if they are not confident in the timing—eating the chip from a missed dodge is far less costly than taking the full charge.
How do you dodge Taurus's Tracking Spike and AOE attacks?
The Tracking Spike locks onto Emma and erupts from the ground when it reaches her position. Because the visual cue is subtle compared to other attacks, the recommended dodge timing is at the last possible moment—when the spike is directly beneath her—rather than reacting to its travel path. The Area-of-Effect ground spike attack is similar to the Nushi Lacreta's version but offers considerably more room to maneuver inside the safe zone. For the Tracking Spike, the danger is that the spike travels underground with almost no surface indicator; players who dodge early will still get hit because the spike adjusts its trajectory mid-travel. The only reliable tell is the spike's proximity to Emma's feet—dodge when it is directly below, not when you first see it moving. The AOE attack, by contrast, is one of the easiest abilities in Taurus's kit to avoid. Taurus stomps and summons spikes across a wide radius, but the gaps between spikes are large enough that a single sidestep or short roll puts Emma in a safe pocket. Players who fought Lacreta will recognize the pattern immediately; the only difference is that Taurus's version has a wider safe zone, making it more forgiving of imprecise movement.
Should you clear the Golem adds before focusing on Taurus?
On the first encounter, Golem enemies spawn at the start of the fight and become a persistent nuisance if left alive. Destroying them before engaging Taurus directly removes the distraction and prevents chip damage from ranged Golem attacks while you're trying to parry Taurus's own projectiles and charges. On the second encounter later in the campaign, the Golem adds are no longer present, so players can focus entirely on the boss from the outset. Leaving the Golems alive during the first fight creates a compounding problem: while you are learning Taurus's Horn Swing timing or trying to parry its three-projectile spread, a Golem bolt hits you from off-screen and breaks your rhythm. The Golems do not hit hard individually, but their attacks stagger Emma at the worst possible moments—mid-dodge during a Spiked Head charge, or mid-parry during the phase two combo. Clearing them first takes less than a minute and eliminates the need to track two threat sources simultaneously. Players who skip this step often report feeling overwhelmed not by Taurus itself but by the chaos of managing adds alongside a boss that constantly disengages. The second encounter removes the Golems entirely, which is why many players find the rematch significantly smoother despite Taurus's phase two upgrades.
What difficulty and build considerations matter for the Taurus fight?
Hard difficulty is available from the start of the campaign and makes enemy hits significantly more punishing, meaning missed parries during Taurus's combo strings carry real consequences. Spirit Stones that boost parry-related stats or increase starting FP help sustain Koo's ability usage throughout the extended chase sequences. The fight rewards players who have invested in Koo's skill tree—particularly binding modifiers and Javelin upgrades—over those who have focused purely on Emma's melee damage output. On Hard, the Horn Swing that chips you for a sliver on Normal can take a quarter of your health bar, turning the repeated disengage-and-swipe pattern into a war of attrition you will lose. Spirit Stones that increase starting FP let you open the fight with a full Javelin-to-binding rotation instead of waiting for FP to regenerate naturally, which matters because the first thirty seconds of the encounter—when Golem adds are still alive—are the most chaotic. Players who have upgraded Koo's binding abilities find that Taurus stays pinned longer, creating windows that would not exist with a base-kit Koo. Javelin upgrades reduce the cooldown between casts, which directly translates to fewer moments where Taurus is sprinting freely across the arena with no way to catch it.
Source material: hardcoregamer.com — this piece is based on that published source material.